This guide focuses on how to connect Stripe to Noah and what to ask Noah to generate for you. It assumes you already understand basic Stripe concepts like products, prices, and test mode.
Use Noah’s built-in Stripe integration
Noah includes a built-in Stripe integration that is optimized for projects using Supabase (database, auth, and edge functions).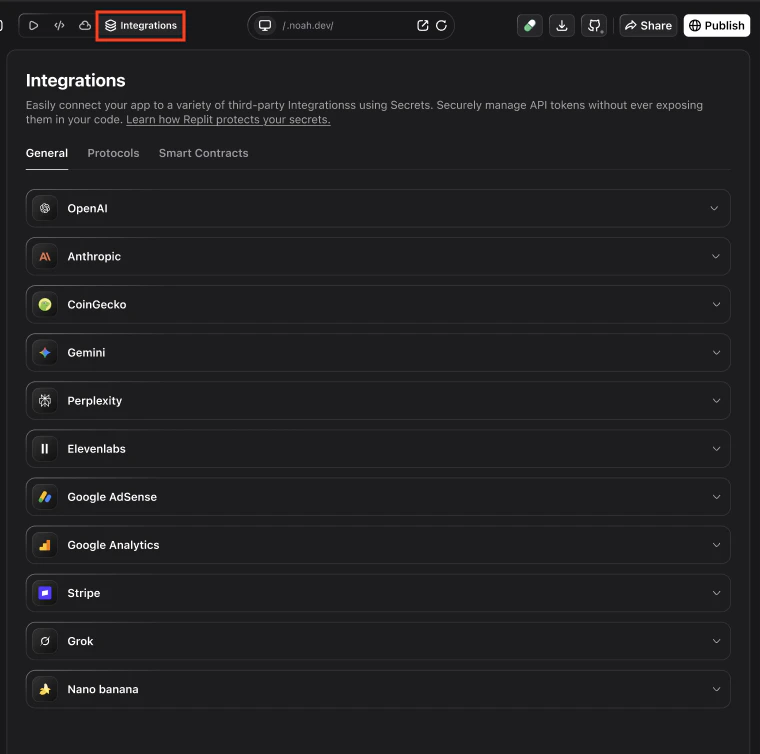
- Configure Stripe from Project Settings: Use your project’s Settings to add your
STRIPE_SECRET_KEYand any webhook secrets as environment variables. - Let Noah scaffold the backend: Ask Noah to set up secure server-side handlers (for example, Supabase Edge Functions or API routes) that:
- Create Stripe Checkout sessions for one-time payments and subscriptions.
- Handle incoming Stripe webhooks and verify signatures server-side.
- Manage subscription lifecycle events and update user access or roles.
- Reuse your existing products: Define products and prices in your Stripe Dashboard, then describe which ones you want to use in chat (for example, “Use my
pro_monthlyprice for the Pro subscription”).
Key takeaways
- Use Noah’s chat-driven flow to scaffold Stripe integration (checkout flows, subscription logic, and UI components).
- Never paste your Stripe Secret Key directly into chat. Store it in Noah’s secure environment/API key settings instead.
- Webhooks or backend functions are optional but recommended for advanced subscription logic and role-based access.
- Always test in Stripe Test Mode first, then switch to live keys once you are confident.
Requirements
Before integrating Stripe with your Noah app, make sure:- You have a Stripe account with at least one product and price configured.
- Your Noah project has a working frontend:
- For one-time payments: a product or checkout page.
- For subscriptions: login/auth is in place so you can link Stripe customers to user accounts.
- Your backend is ready:
- Recommended: Supabase connected to Noah (auth + database + edge functions) so Noah can generate secure Stripe handlers.
- Or: your own backend/edge-function setup that can safely store Stripe secrets and receive webhooks.
- You can deploy your app (Stripe webhooks and redirects work best on deployed URLs, not only on local previews).
Stripe integration is best tested in Stripe Test Mode. Use Stripe’s test card
4242 4242 4242 4242 with any future expiry date and any 3‑digit CVC to simulate
successful payments.Stripe payment setup (chat or guided flow)
Noah can generate most of the Stripe wiring for you. Once your Stripe Secret Key is stored securely, describe what you want in chat and let Noah scaffold the backend and UI.Prep your project
- Make sure your backend (for example, Supabase or your own API) is connected to the project if you plan to store payment data or manage subscriptions.
- In the Stripe Dashboard, create the products and prices you plan to sell (one-time or recurring).
- In Noah, open your project and be ready to add environment variables / API keys for Stripe.
Securely add your Stripe Secret Key
- In Stripe, go to Developers → API keys.
- Copy your Secret key (for example,
sk_test_...in Test Mode). - In Noah, open your project Settings and use the environment/API key UI to add a new secret for Stripe (for example,
STRIPE_SECRET_KEY).
Describe the payment experience in chat
In your Noah project chat, tell Noah what you want to build. For example:Noah can generate:
- Backend handlers or edge functions that talk to Stripe.
- Database tables and models to store payment and subscription state (if applicable).
- UI components (buttons/links) that trigger Stripe Checkout or billing portal.
Review, test, and deploy
- Review the code and UI that Noah proposes for your Stripe integration.
- If you want changes, describe them in chat (for example, “Move the checkout button to the pricing page header” or “Rename this endpoint to /api/stripe/webhook”) and let Noah update the code instead of editing it manually.
- Test flows in Stripe Test Mode using test cards.
- Deploy your app so webhooks and redirects work correctly.
Advanced integration: webhooks & backend
For subscriptions, role-based access, and robust payment handling, you often need to react to Stripe events (webhooks) on your backend.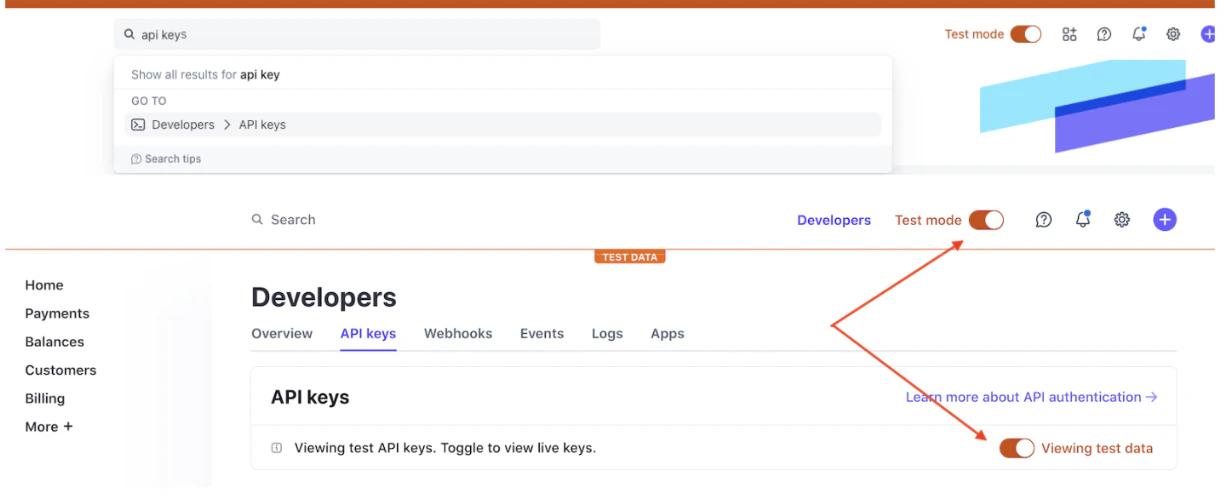
Connect your backend integration
- If you are using a backend like Supabase, make sure it is connected to your Noah project.
- Ask Noah in chat to scaffold a backend endpoint or edge function to handle Stripe events.
- Prefer server-side handlers (for example, Supabase Edge Functions) so that sensitive payment data and webhook verification never happen in client-side code.
Generate schema and logic for payments
- Describe what you want to store, such as users, subscriptions, and payment records.
- Noah can generate database tables and logic that:
- Creates or updates a Stripe customer for each authenticated user.
- Records successful payments and subscription changes.
- Updates user roles or access tiers based on Stripe data.
Configure Stripe webhooks
- In Stripe Dashboard, go to Developers → Webhooks → Add an endpoint.
- Use the URL of the endpoint or edge function that Noah created (for your deployed app).
- Select the events you care about, such as:
checkout.session.completedinvoice.paidcustomer.subscription.createdcustomer.subscription.updatedcustomer.subscription.deleted
- Copy the Webhook signing secret and store it as a secure environment variable in Noah (for example,
STRIPE_WEBHOOK_SECRET).
When you ask Noah to set up Stripe with a Supabase backend, Noah can generate most of this wiring for you: secure webhook handlers with signature verification, subscription lifecycle updates, and database writes for successful payments. For fully custom backends, you will follow the same concepts but need to wire up the endpoints and environment variables manually.
Securely add API keys
To keep your Stripe account safe, always store secrets using Noah’s secure environment settings.Find your keys in Stripe
- Go to Stripe Dashboard → Developers → API keys.
- Copy the Secret key for Test Mode while you are building and testing.
Testing your integration
- Use Stripe Test Mode until you are confident in your flows.
- Use the standard success card:
- Card number:
4242 4242 4242 4242 - Any future expiry date
- Any 3‑digit CVC
- Card number:
- Test additional common scenarios using Stripe’s test cards:
- Declined payment:
4000 0000 0000 0002 - Payment requiring authentication (3D Secure):
4000 0025 0000 3155
- Declined payment:
- Test both successful and failing payment paths where relevant (for example, expired card, insufficient funds, authentication failures using Stripe’s test cards).
- Deploy your Noah app to a test or staging environment to verify redirects and webhooks end-to-end.
Debugging & troubleshooting
Check browser console and network
Check browser console and network
- Open your app in the browser and use Developer Tools → Console / Network.
- Look for JavaScript errors or failed network requests related to Stripe endpoints.
- Copy error messages into Noah chat if you want help debugging.
Review backend or function logs
Review backend or function logs
- If you are using a backend or edge function, open its logs (for example, Supabase Edge Functions logs or your hosting provider’s logs).
- Filter for Stripe-related requests or errors.
- Confirm that webhook requests from Stripe are reaching your server and returning a
2xxstatus.
Verify webhook events in Stripe Dashboard
Verify webhook events in Stripe Dashboard
- In Stripe, go to Developers → Events.
- Check that events such as
checkout.session.completedorinvoice.paidare delivered successfully. - If events show as failed, inspect the error message and update your endpoint accordingly.
Ask Noah for help in Plan mode
Ask Noah for help in Plan mode
- Switch your Noah project to Plan mode.
- Explain what you have set up (keys, endpoints, products) and what is failing.
- Ask for a step-by-step review of your Stripe integration and logs, including any Supabase Edge Functions or other backend handlers Noah generated.
- When you are ready to iterate quickly on fixes, switch back to Agent mode and ask Noah to update specific endpoints, webhook logic, or UI flows based on the errors you are seeing.
FAQ
Does Noah support Stripe Test Mode?
Does Noah support Stripe Test Mode?
Yes. You should start with your Stripe Test Secret Key and Test Mode. Once everything works, switch to your live key in your Noah environment settings.
Can I change from test keys to live keys later?
Can I change from test keys to live keys later?
Yes. Update your Stripe environment variables in Noah (for example, change
STRIPE_SECRET_KEY to the live value) and redeploy your app. Make sure you also update any webhook endpoints and secrets for your live environment.Do I need webhooks for simple one-time payments?
Do I need webhooks for simple one-time payments?
For very simple one-time checkouts, you may rely on client-side confirmation or redirect parameters. However, webhooks are recommended for keeping definitive records of payments and for anything involving subscriptions or access control.