Connect Netlify to Noah
You connect Netlify from Settings → Integration.Open Settings and go to Integration
In Noah, click your profile name in the top-left and choose Settings. In the Settings dialog, select the Integration tab on the left.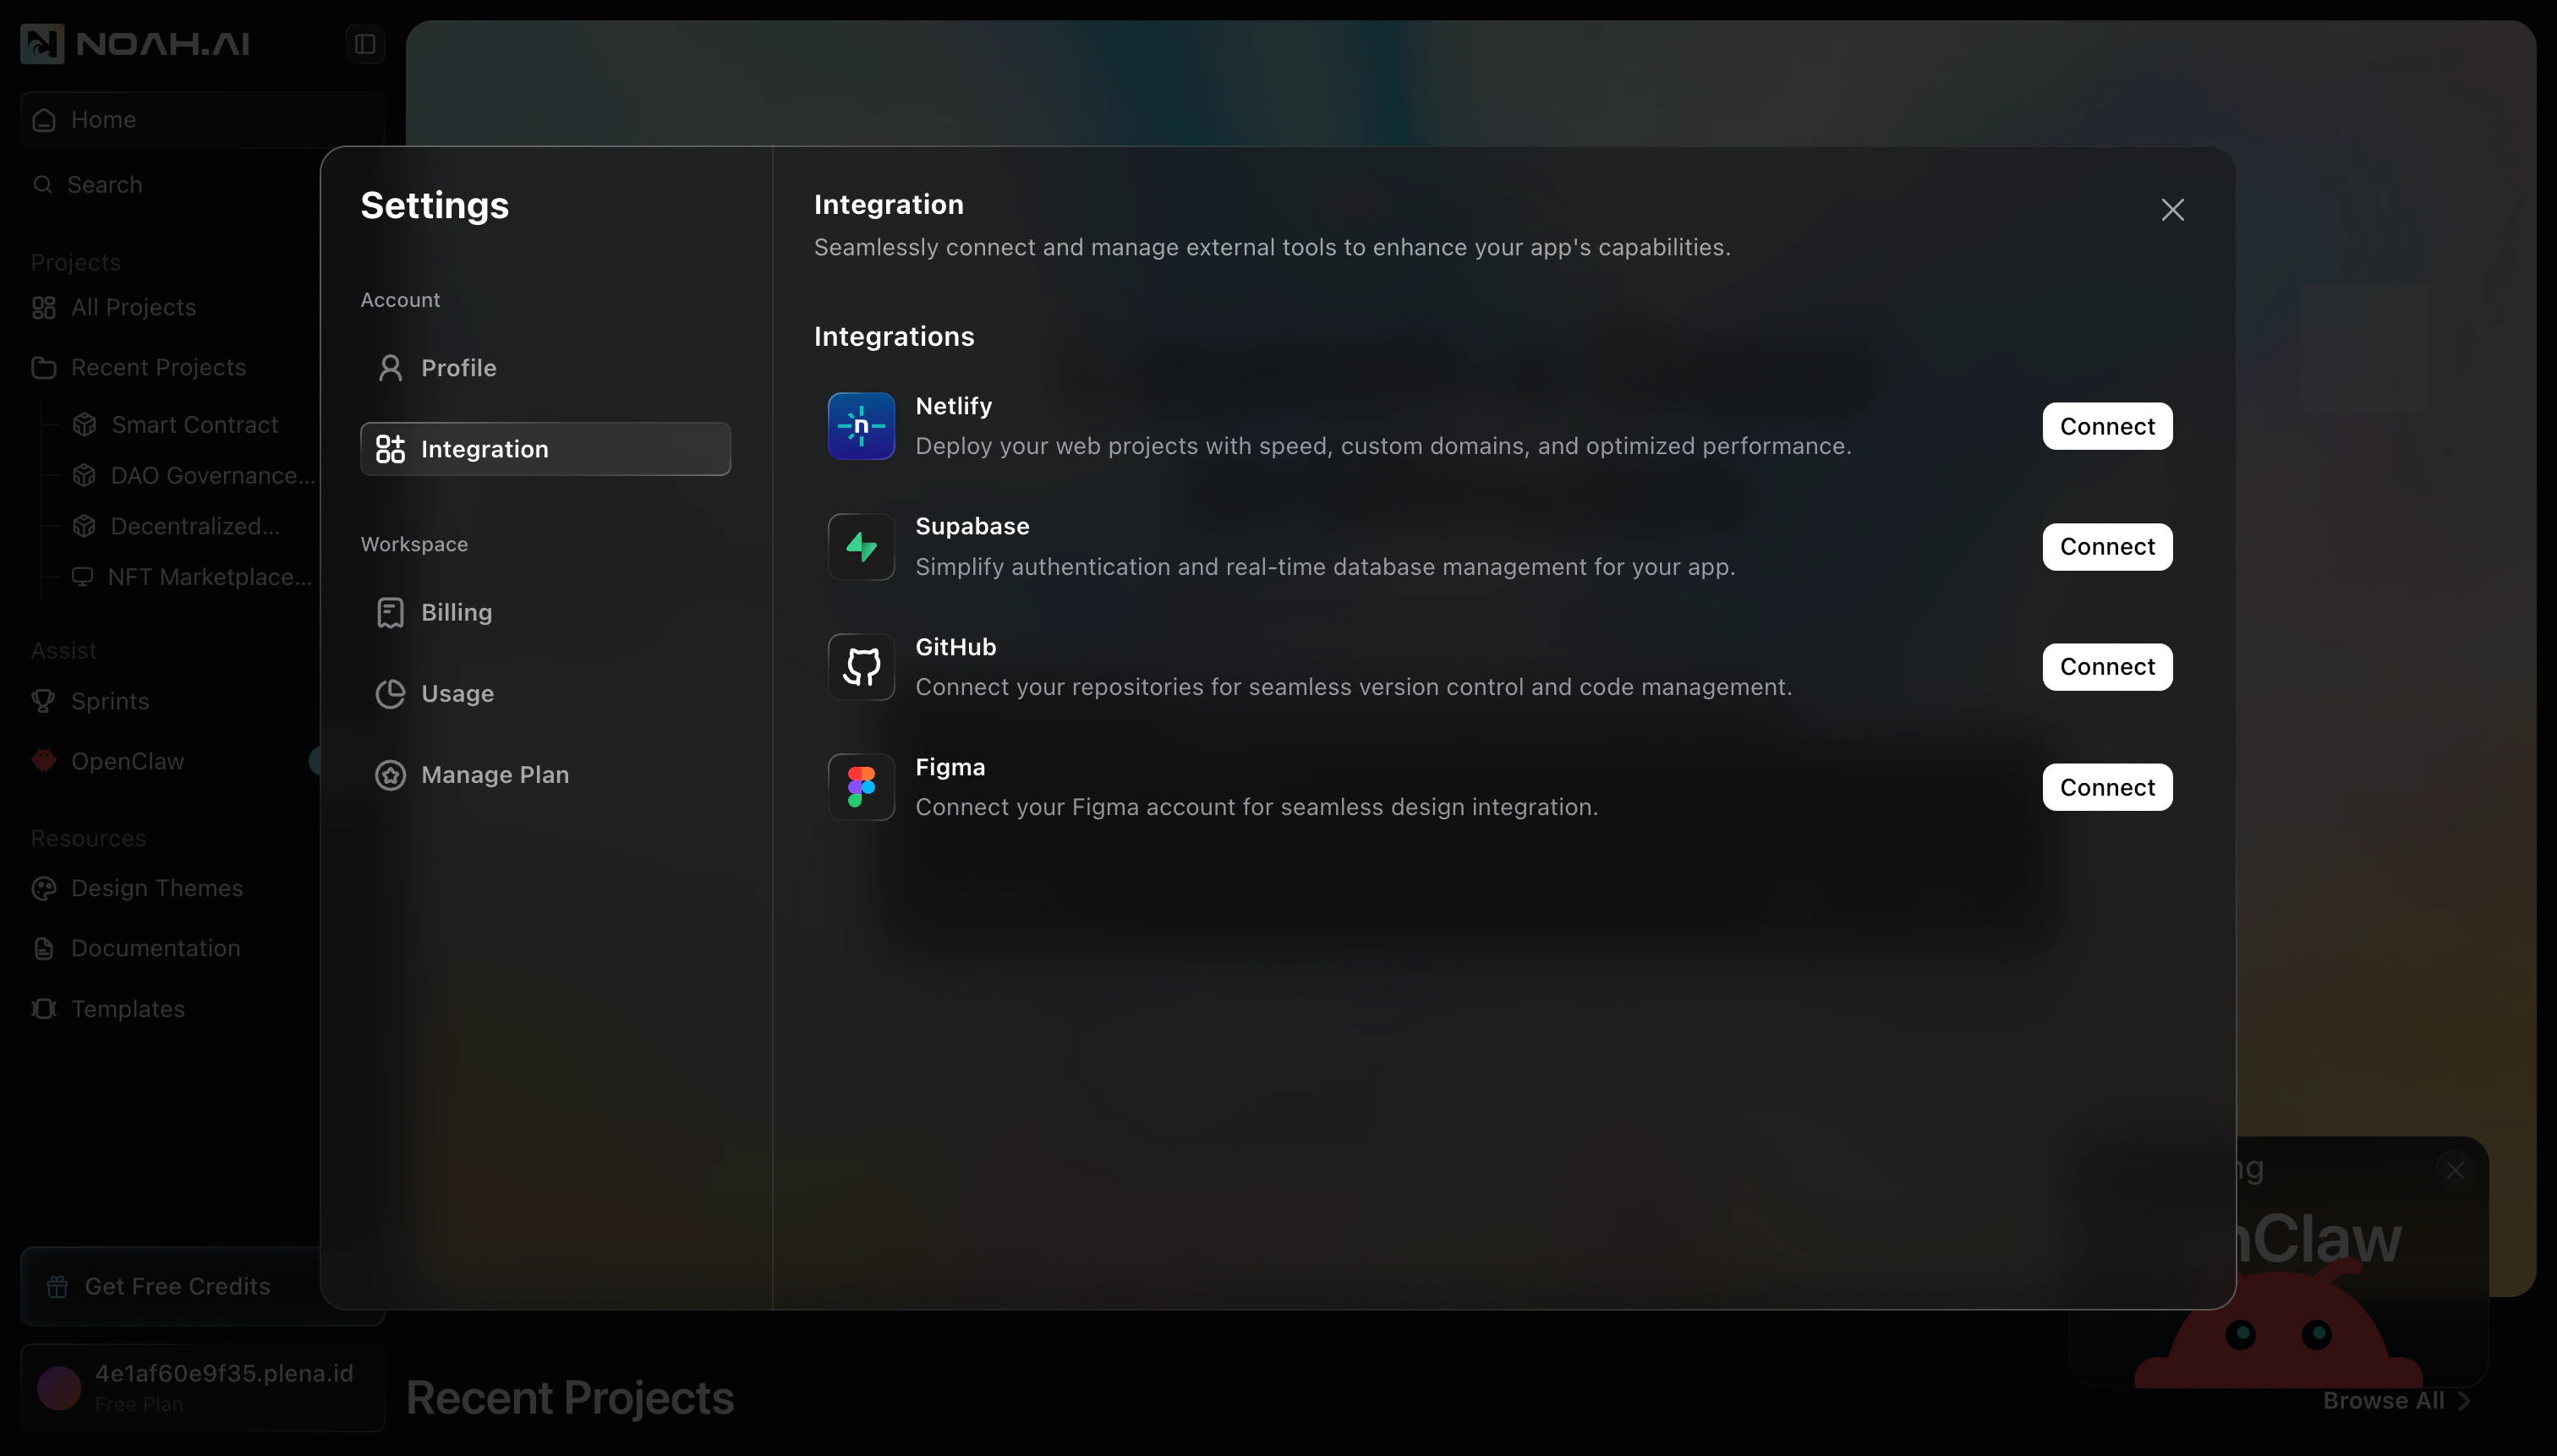
Start the Netlify connection
In the Integrations list, find Netlify and click Connect.A Connect with Netlify dialog opens with a summary of what the integration does. Click Connect to continue.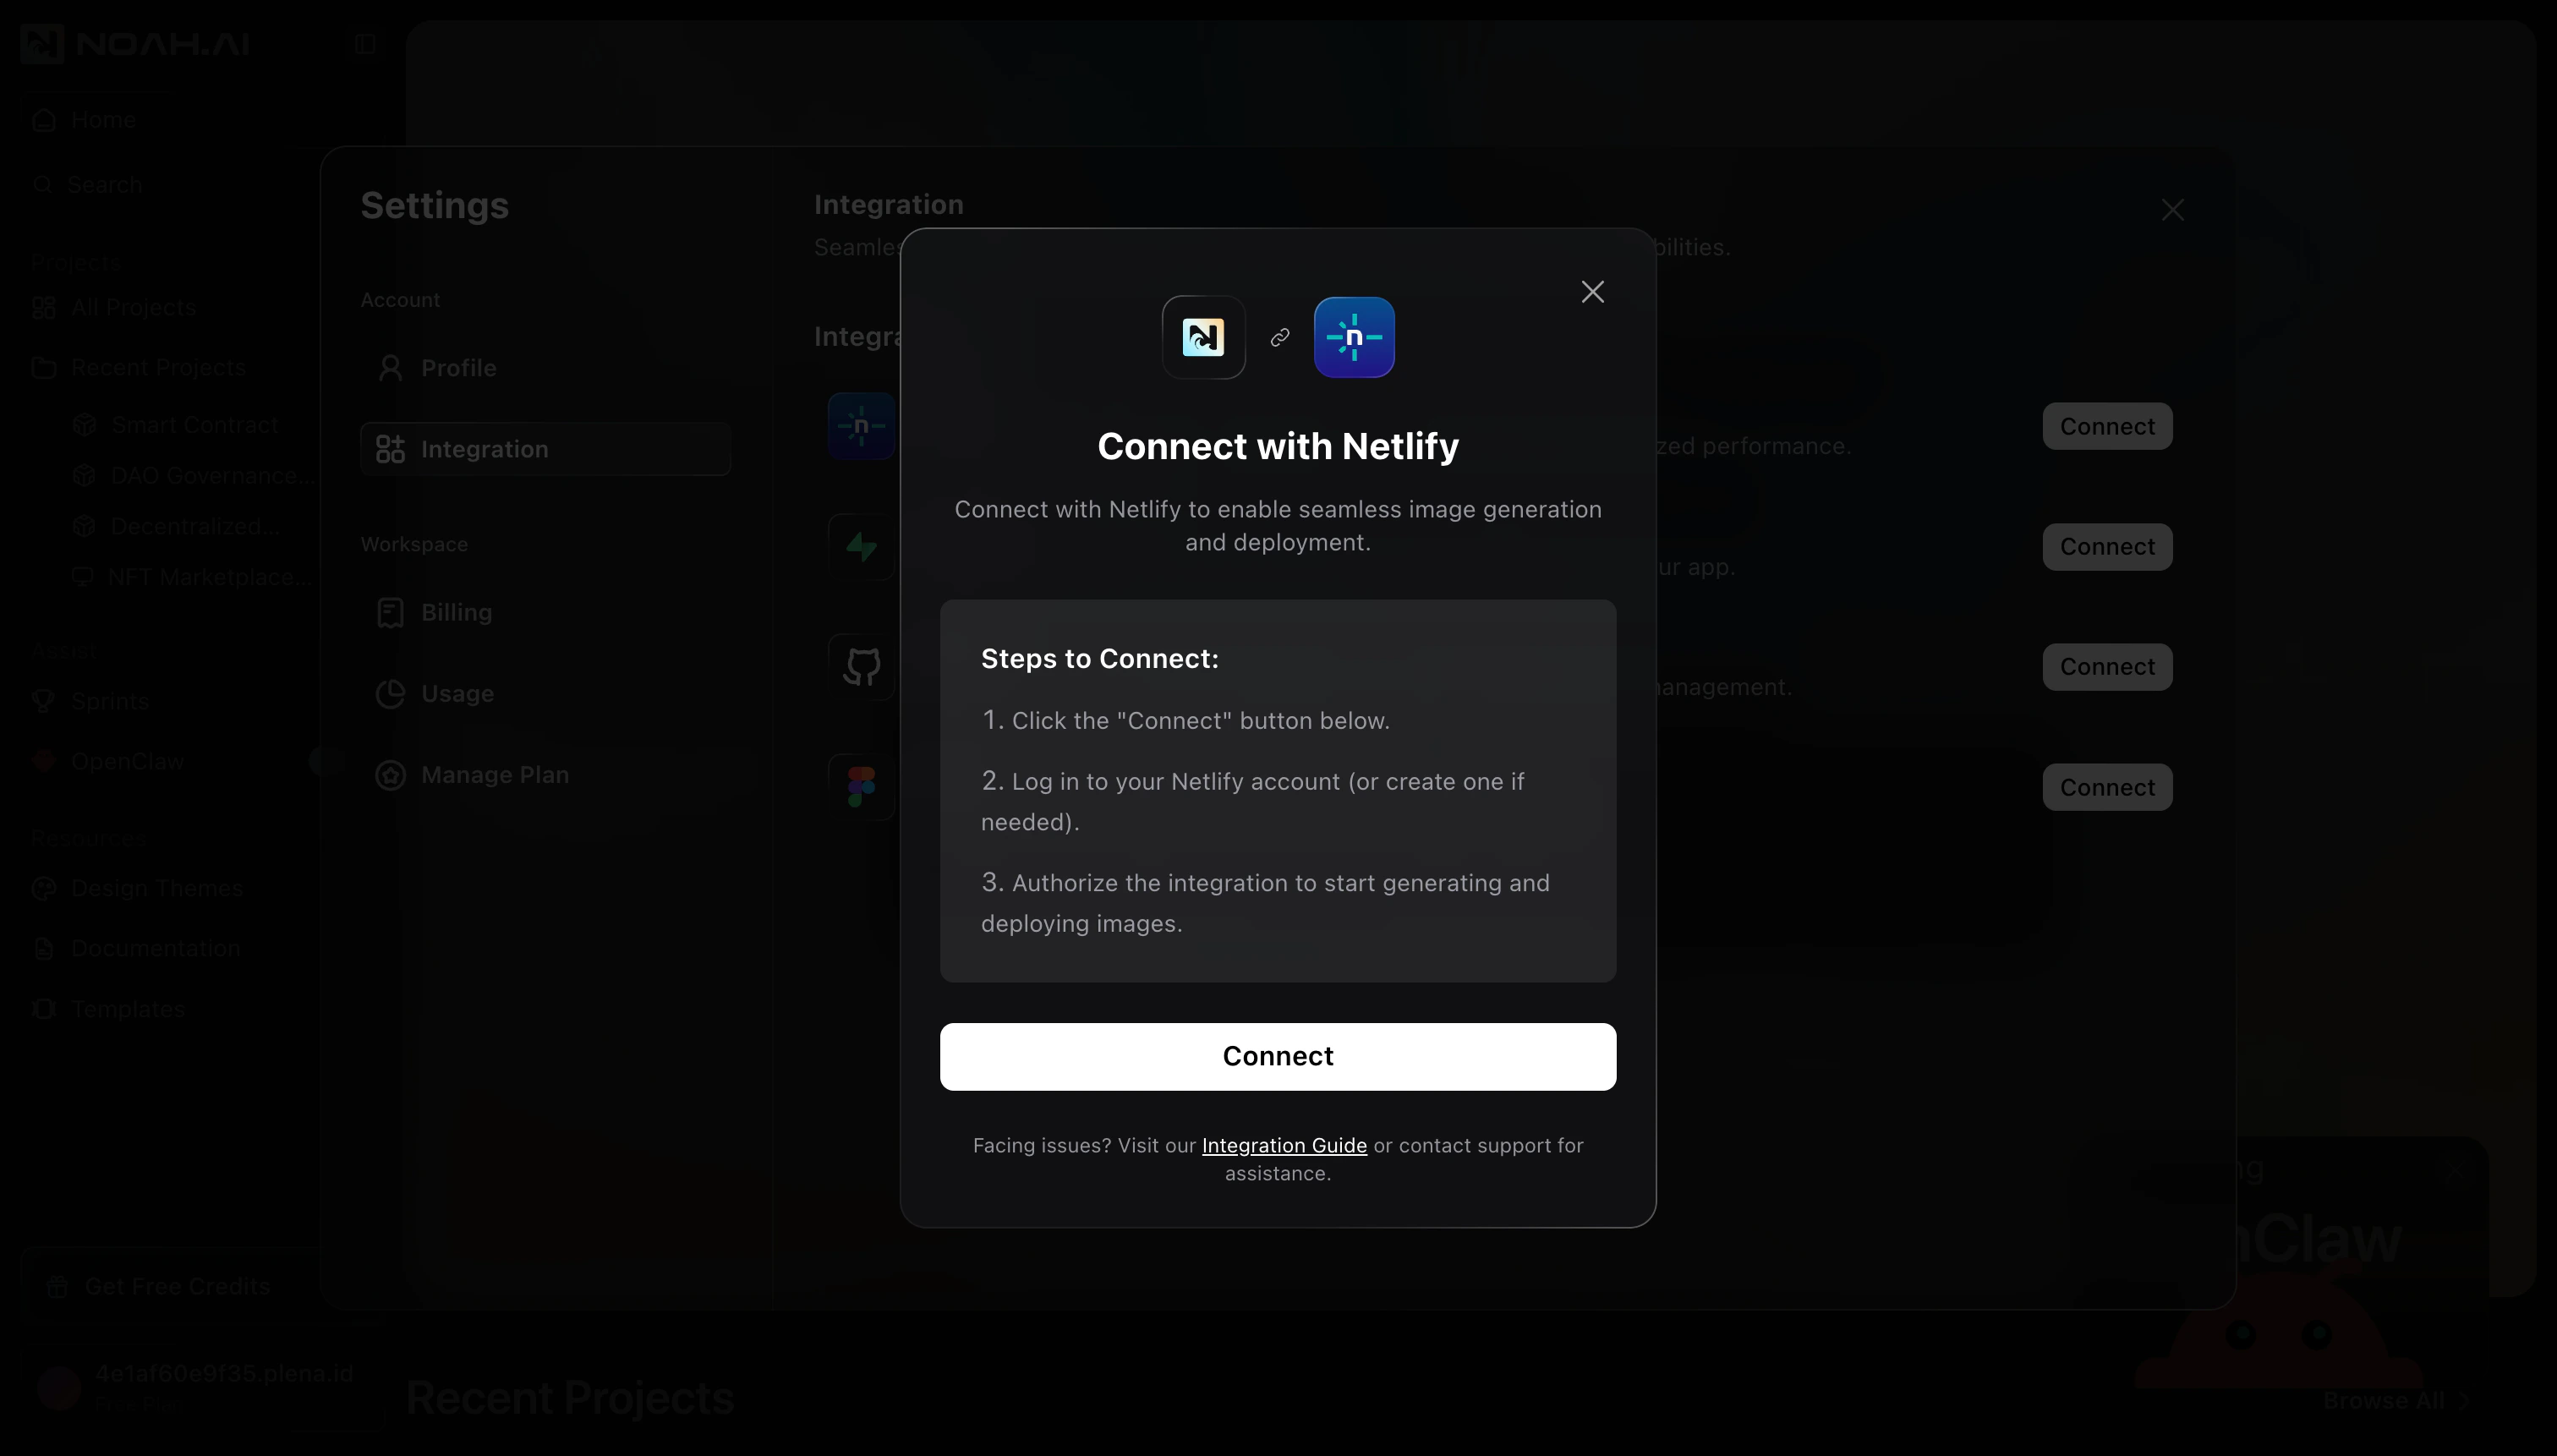
Authorize Noah AI in Netlify
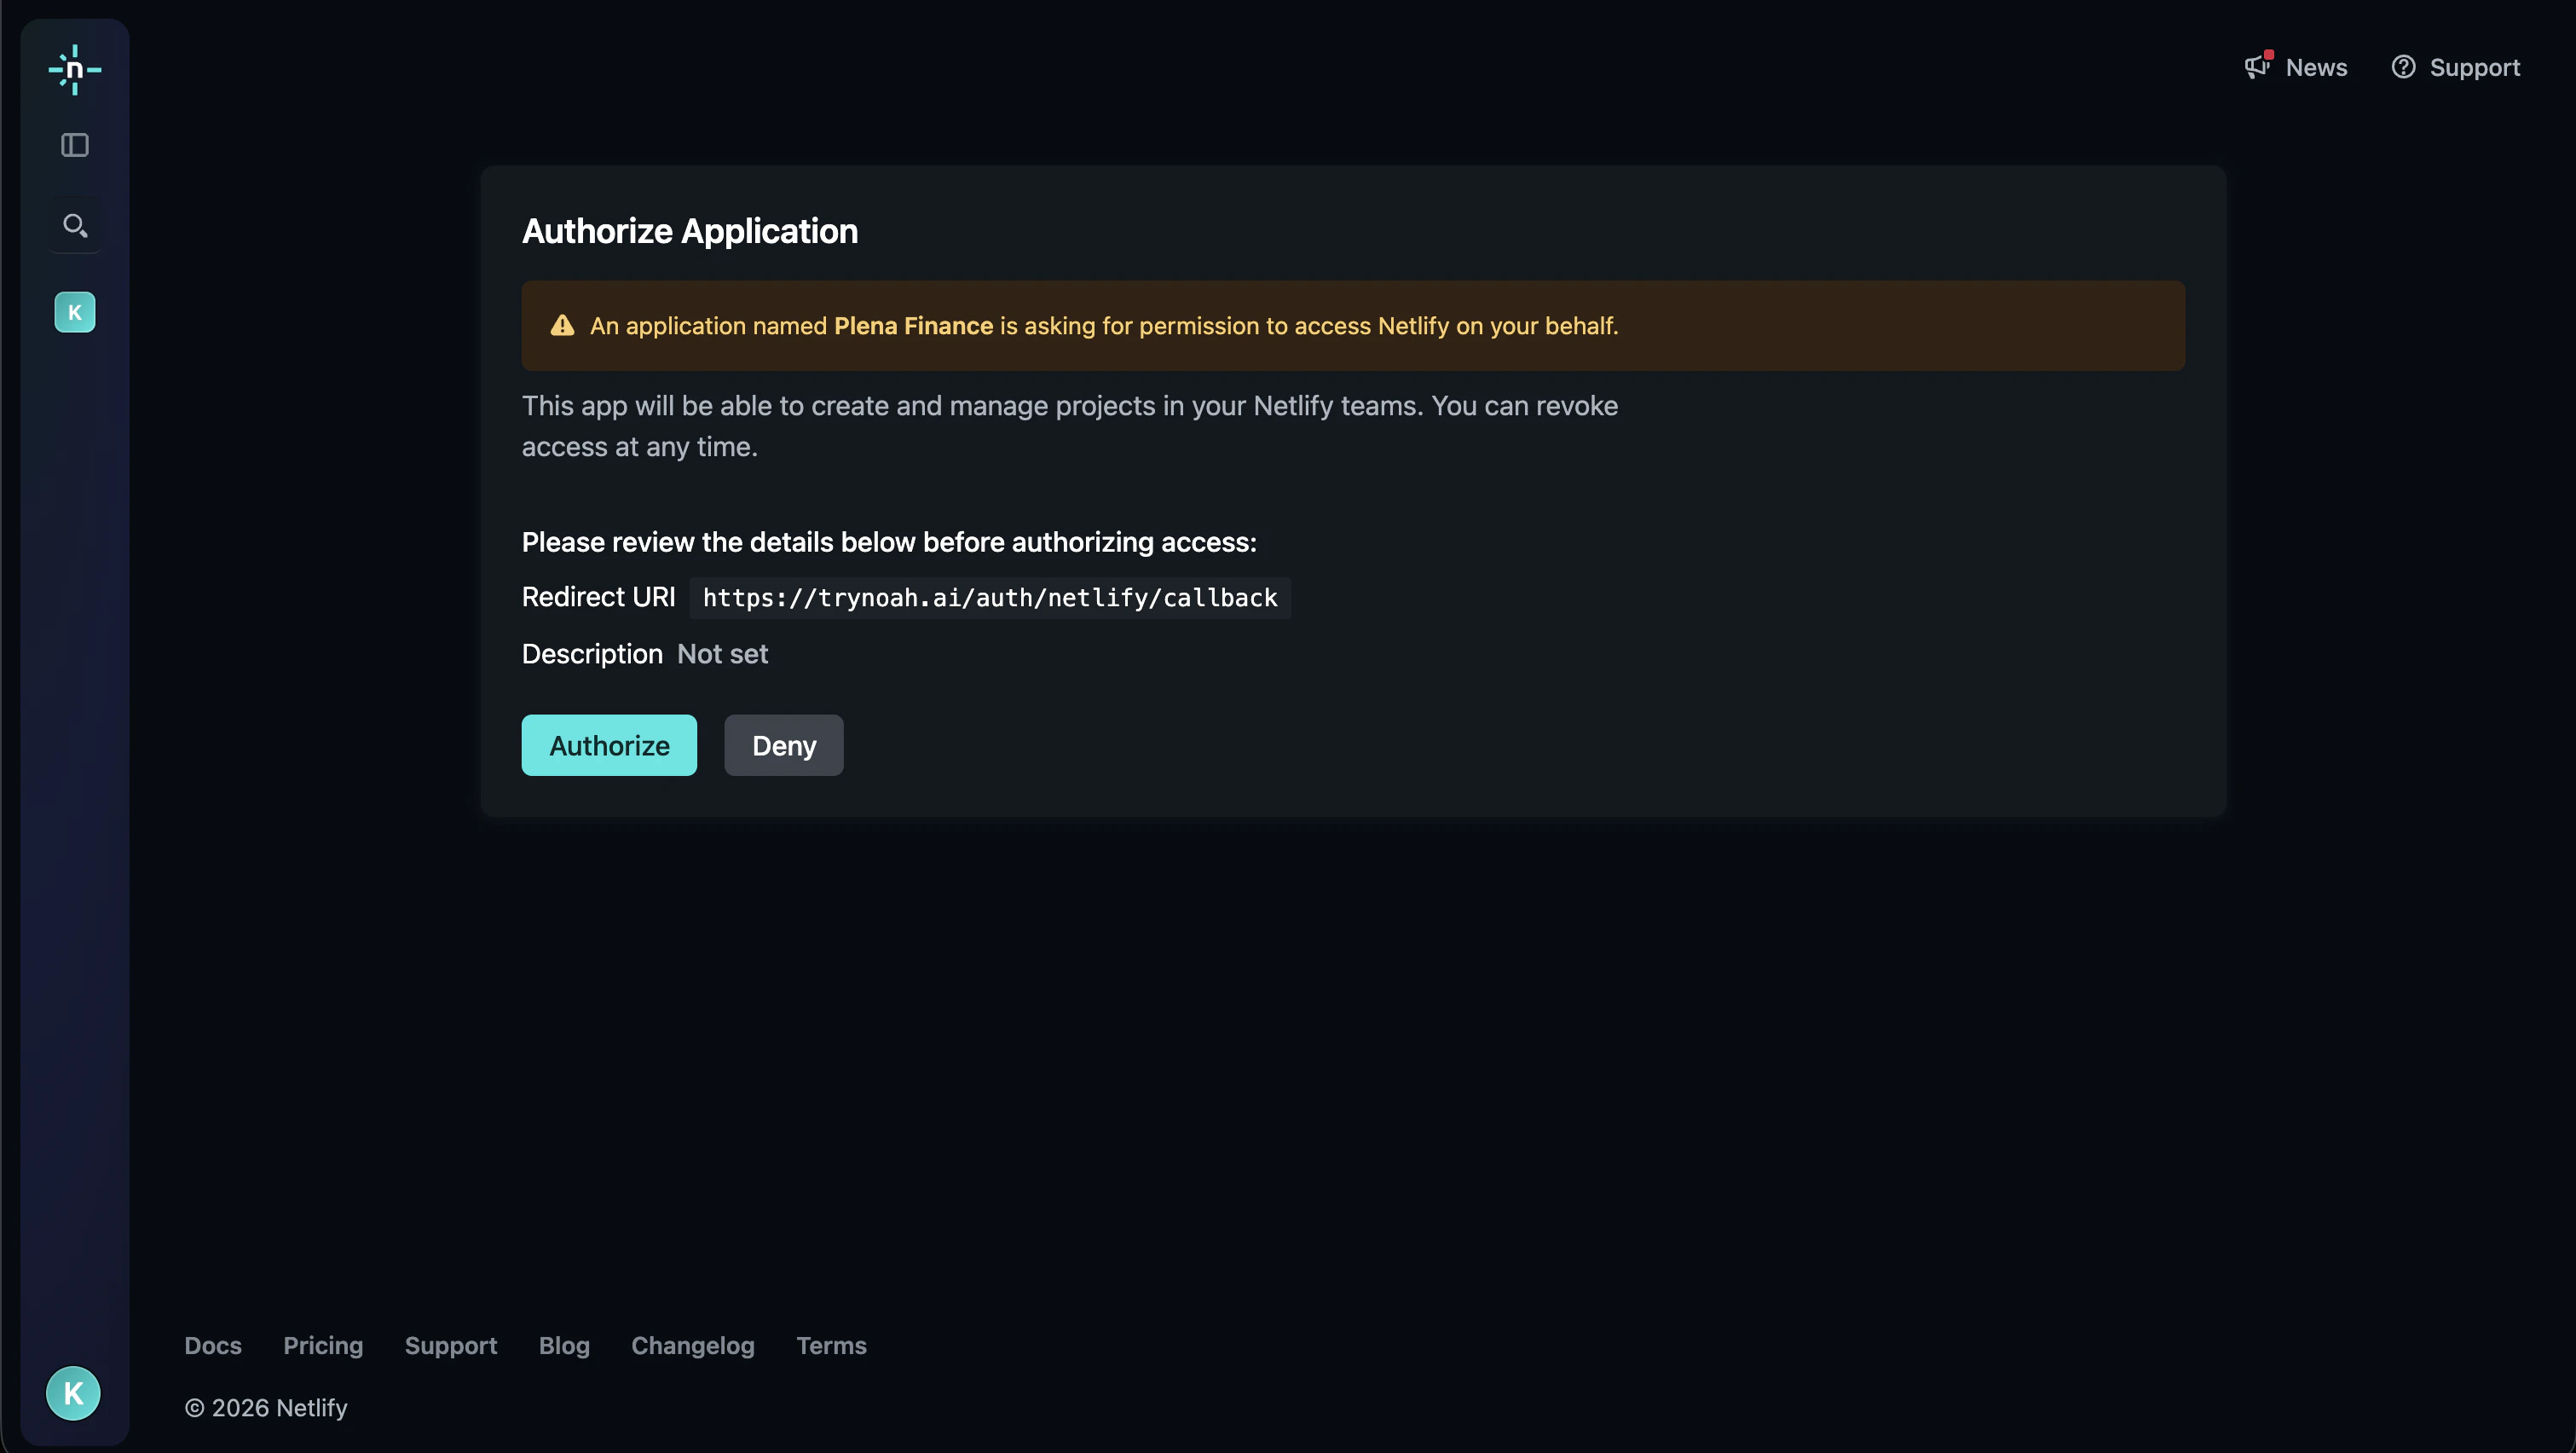
A Netlify Authorize Application page opens in your browser.
- Review the permissions Netlify shows for the app
-
Click Authorize to grant Noah AI access to create and manage your Netlify site
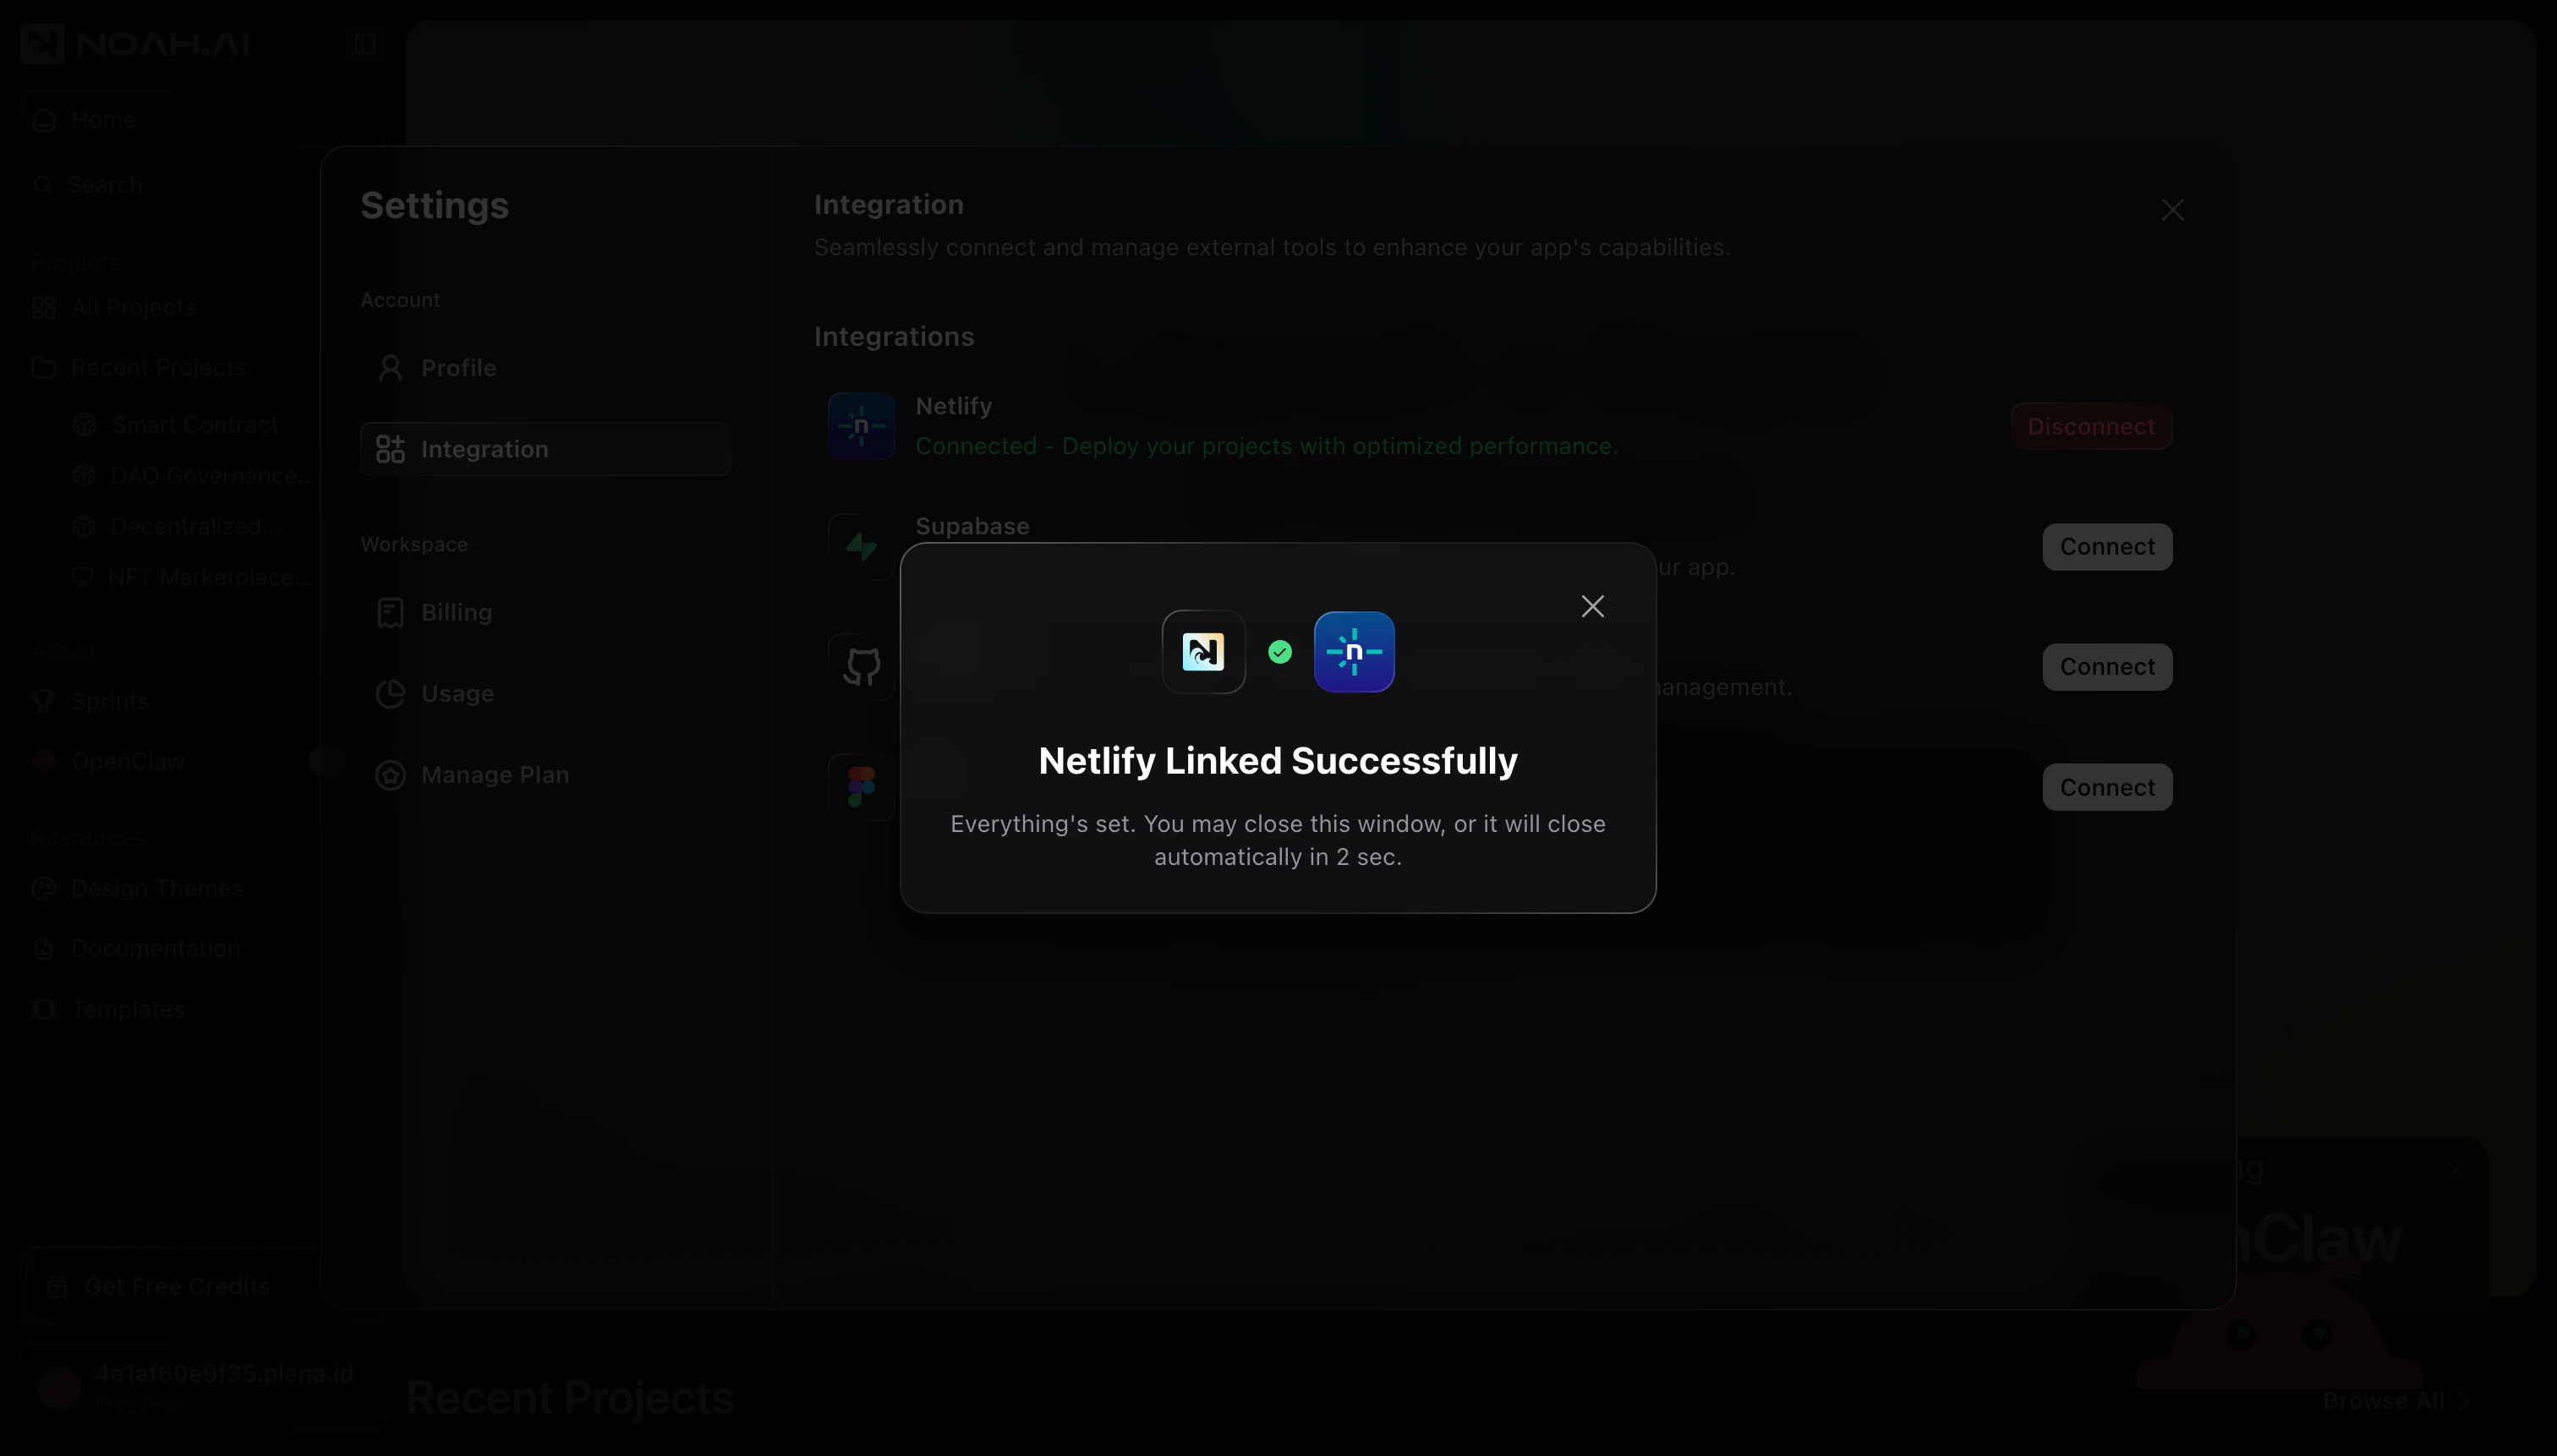
After Netlify is connected, Noah can create and update a Netlify site for your
DApp. Use the DApp Publish flow to deploy
your frontend.
Next steps
- Open your DApp project in Noah and use Publish → Web App to deploy to Netlify
- Use Redeploy from the DApp Publish modal whenever you ship UI changes
- Manage advanced site settings (custom domains, redirects, etc.) from the Netlify dashboard
FAQ
What happens if I click Deny on the Netlify screen?
What happens if I click Deny on the Netlify screen?
If you click Deny on the Netlify authorization page, the connection will not be created. Return to Settings → Integration, click Connect on Netlify again, and this time choose Authorize in Netlify.
The Netlify authorization window did not open. What should I do?
The Netlify authorization window did not open. What should I do?
Can I disconnect Netlify later?
Can I disconnect Netlify later?
Yes. From Settings → Integration, find Netlify and click Disconnect. This removes Noah’s access but does not delete your existing Netlify site.