What you can use it for
- Version control for projects created in Noah
- Collaboration with teammates through pull requests and code reviews
- Backup and history for changes made over time
Ways to connect GitHub
You can start the GitHub connection flow from either your project or from global settings.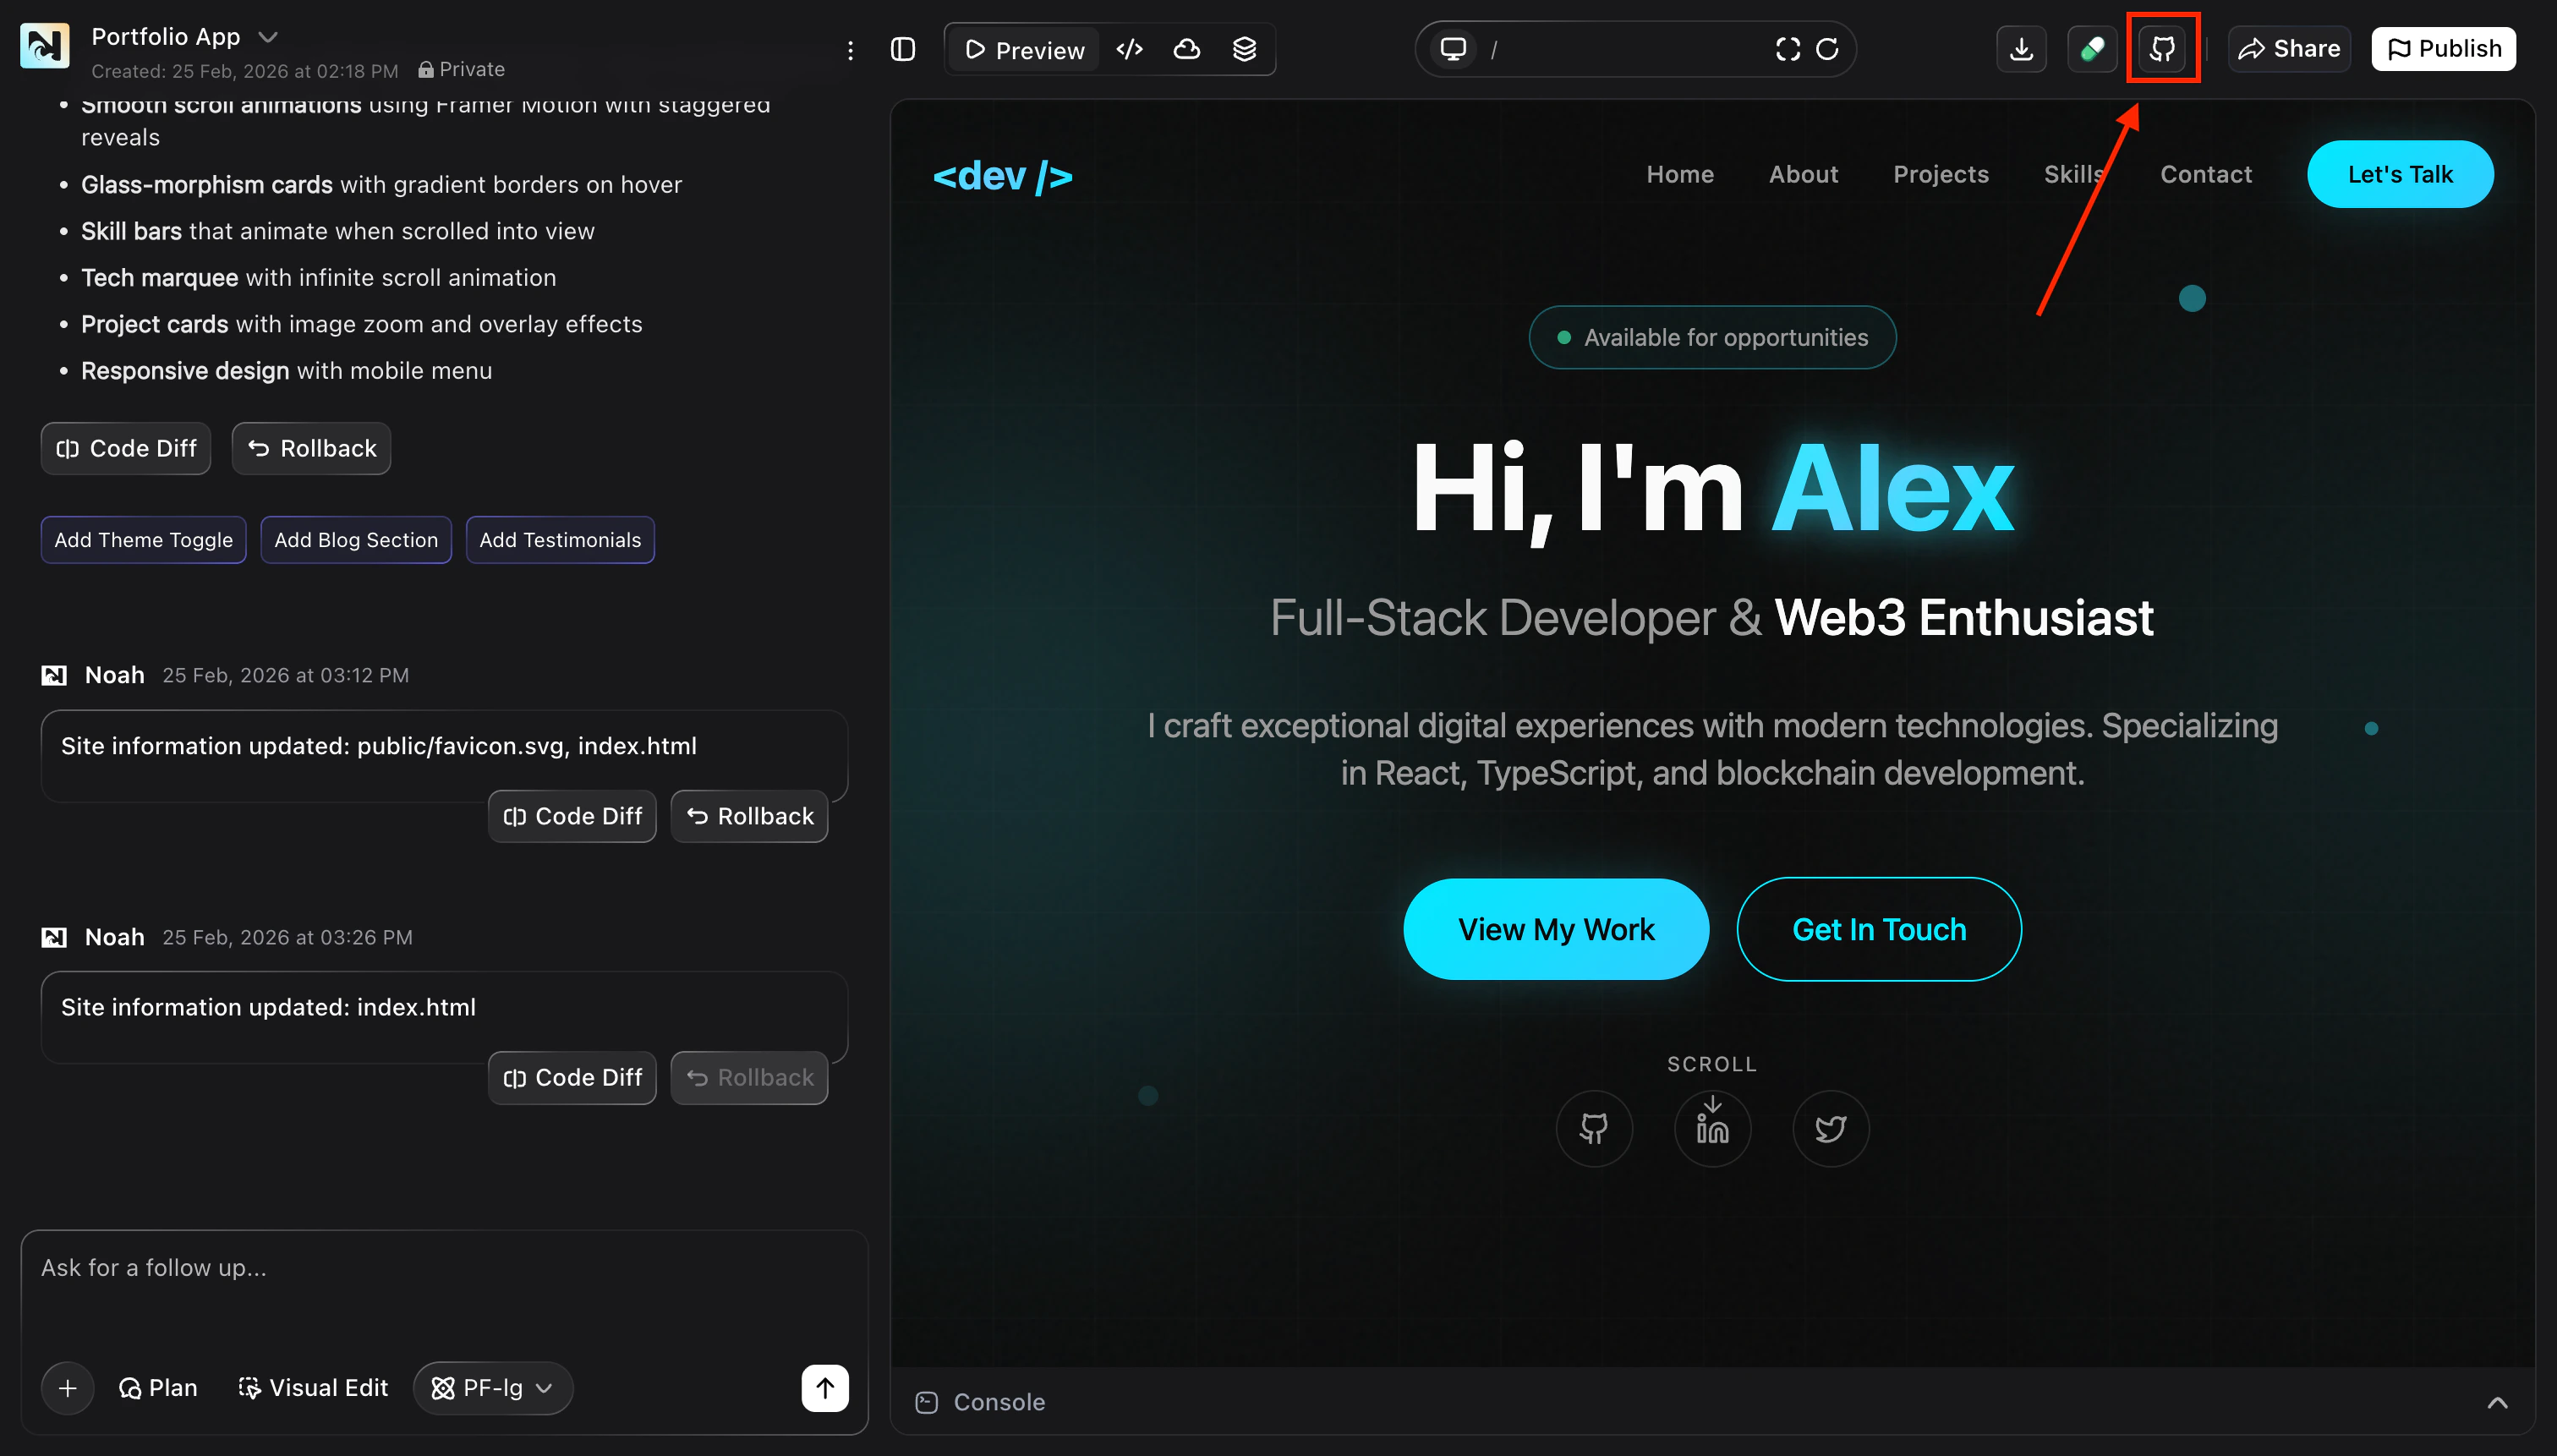
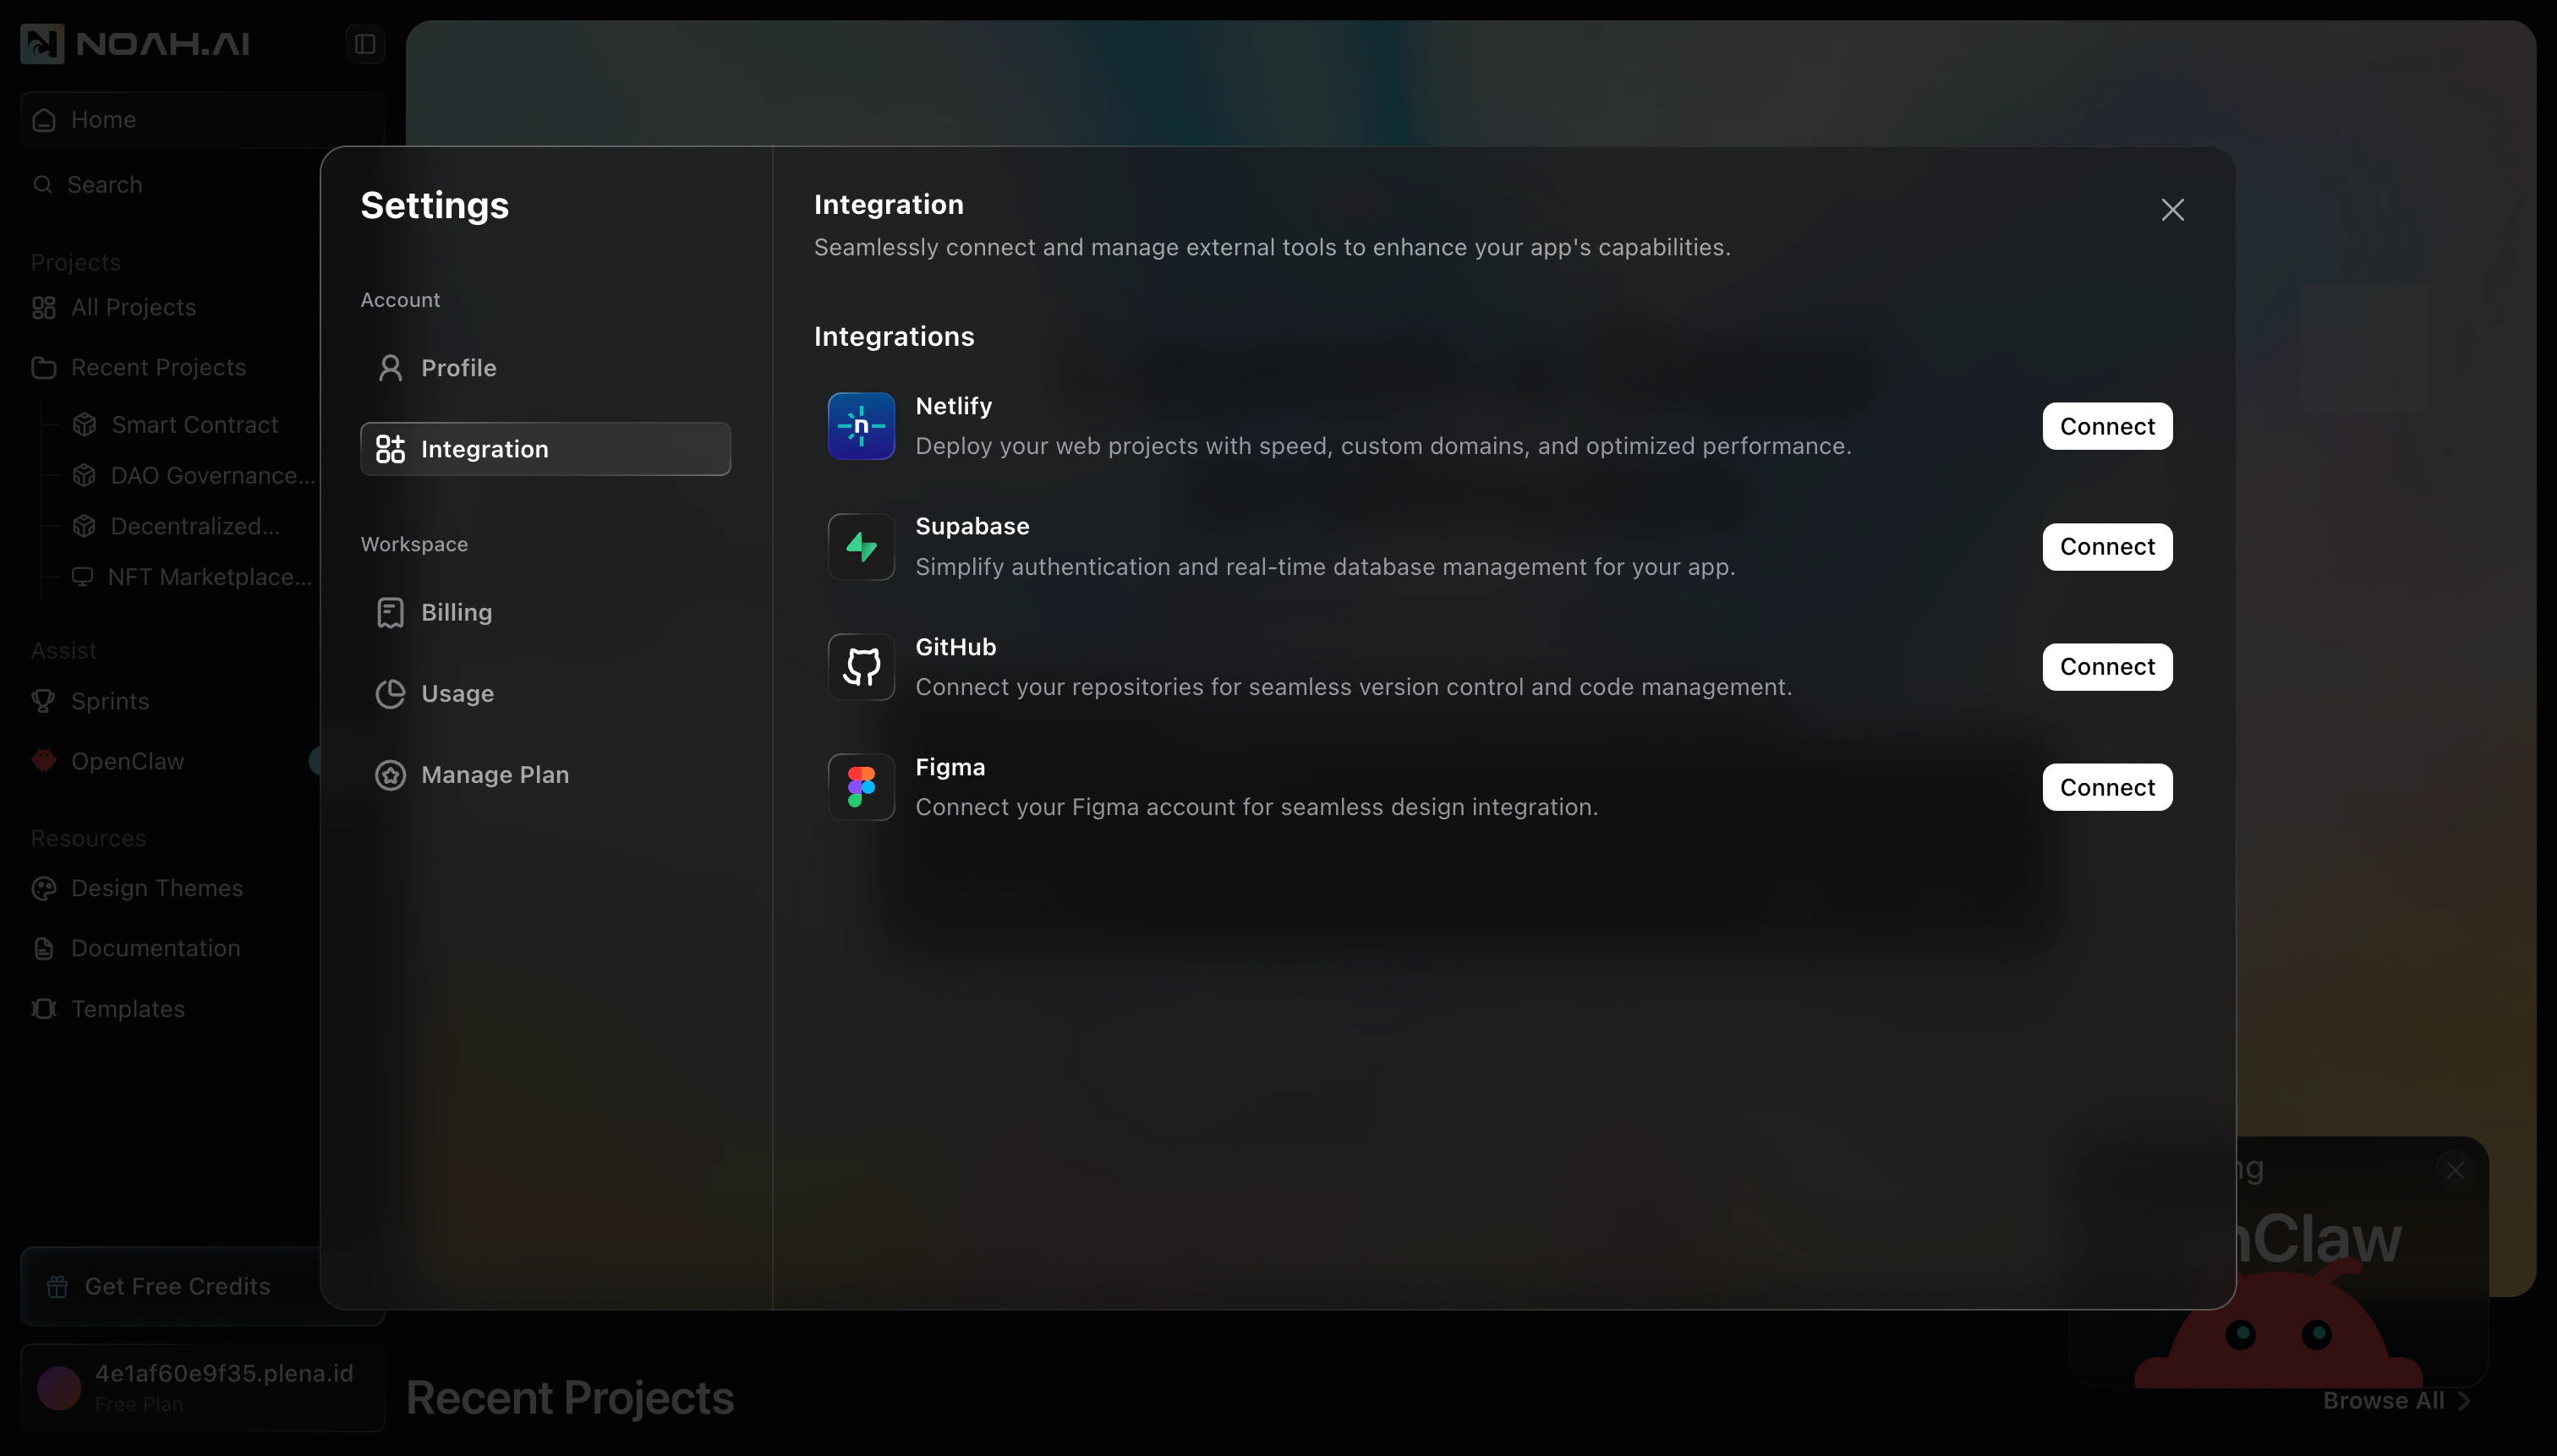
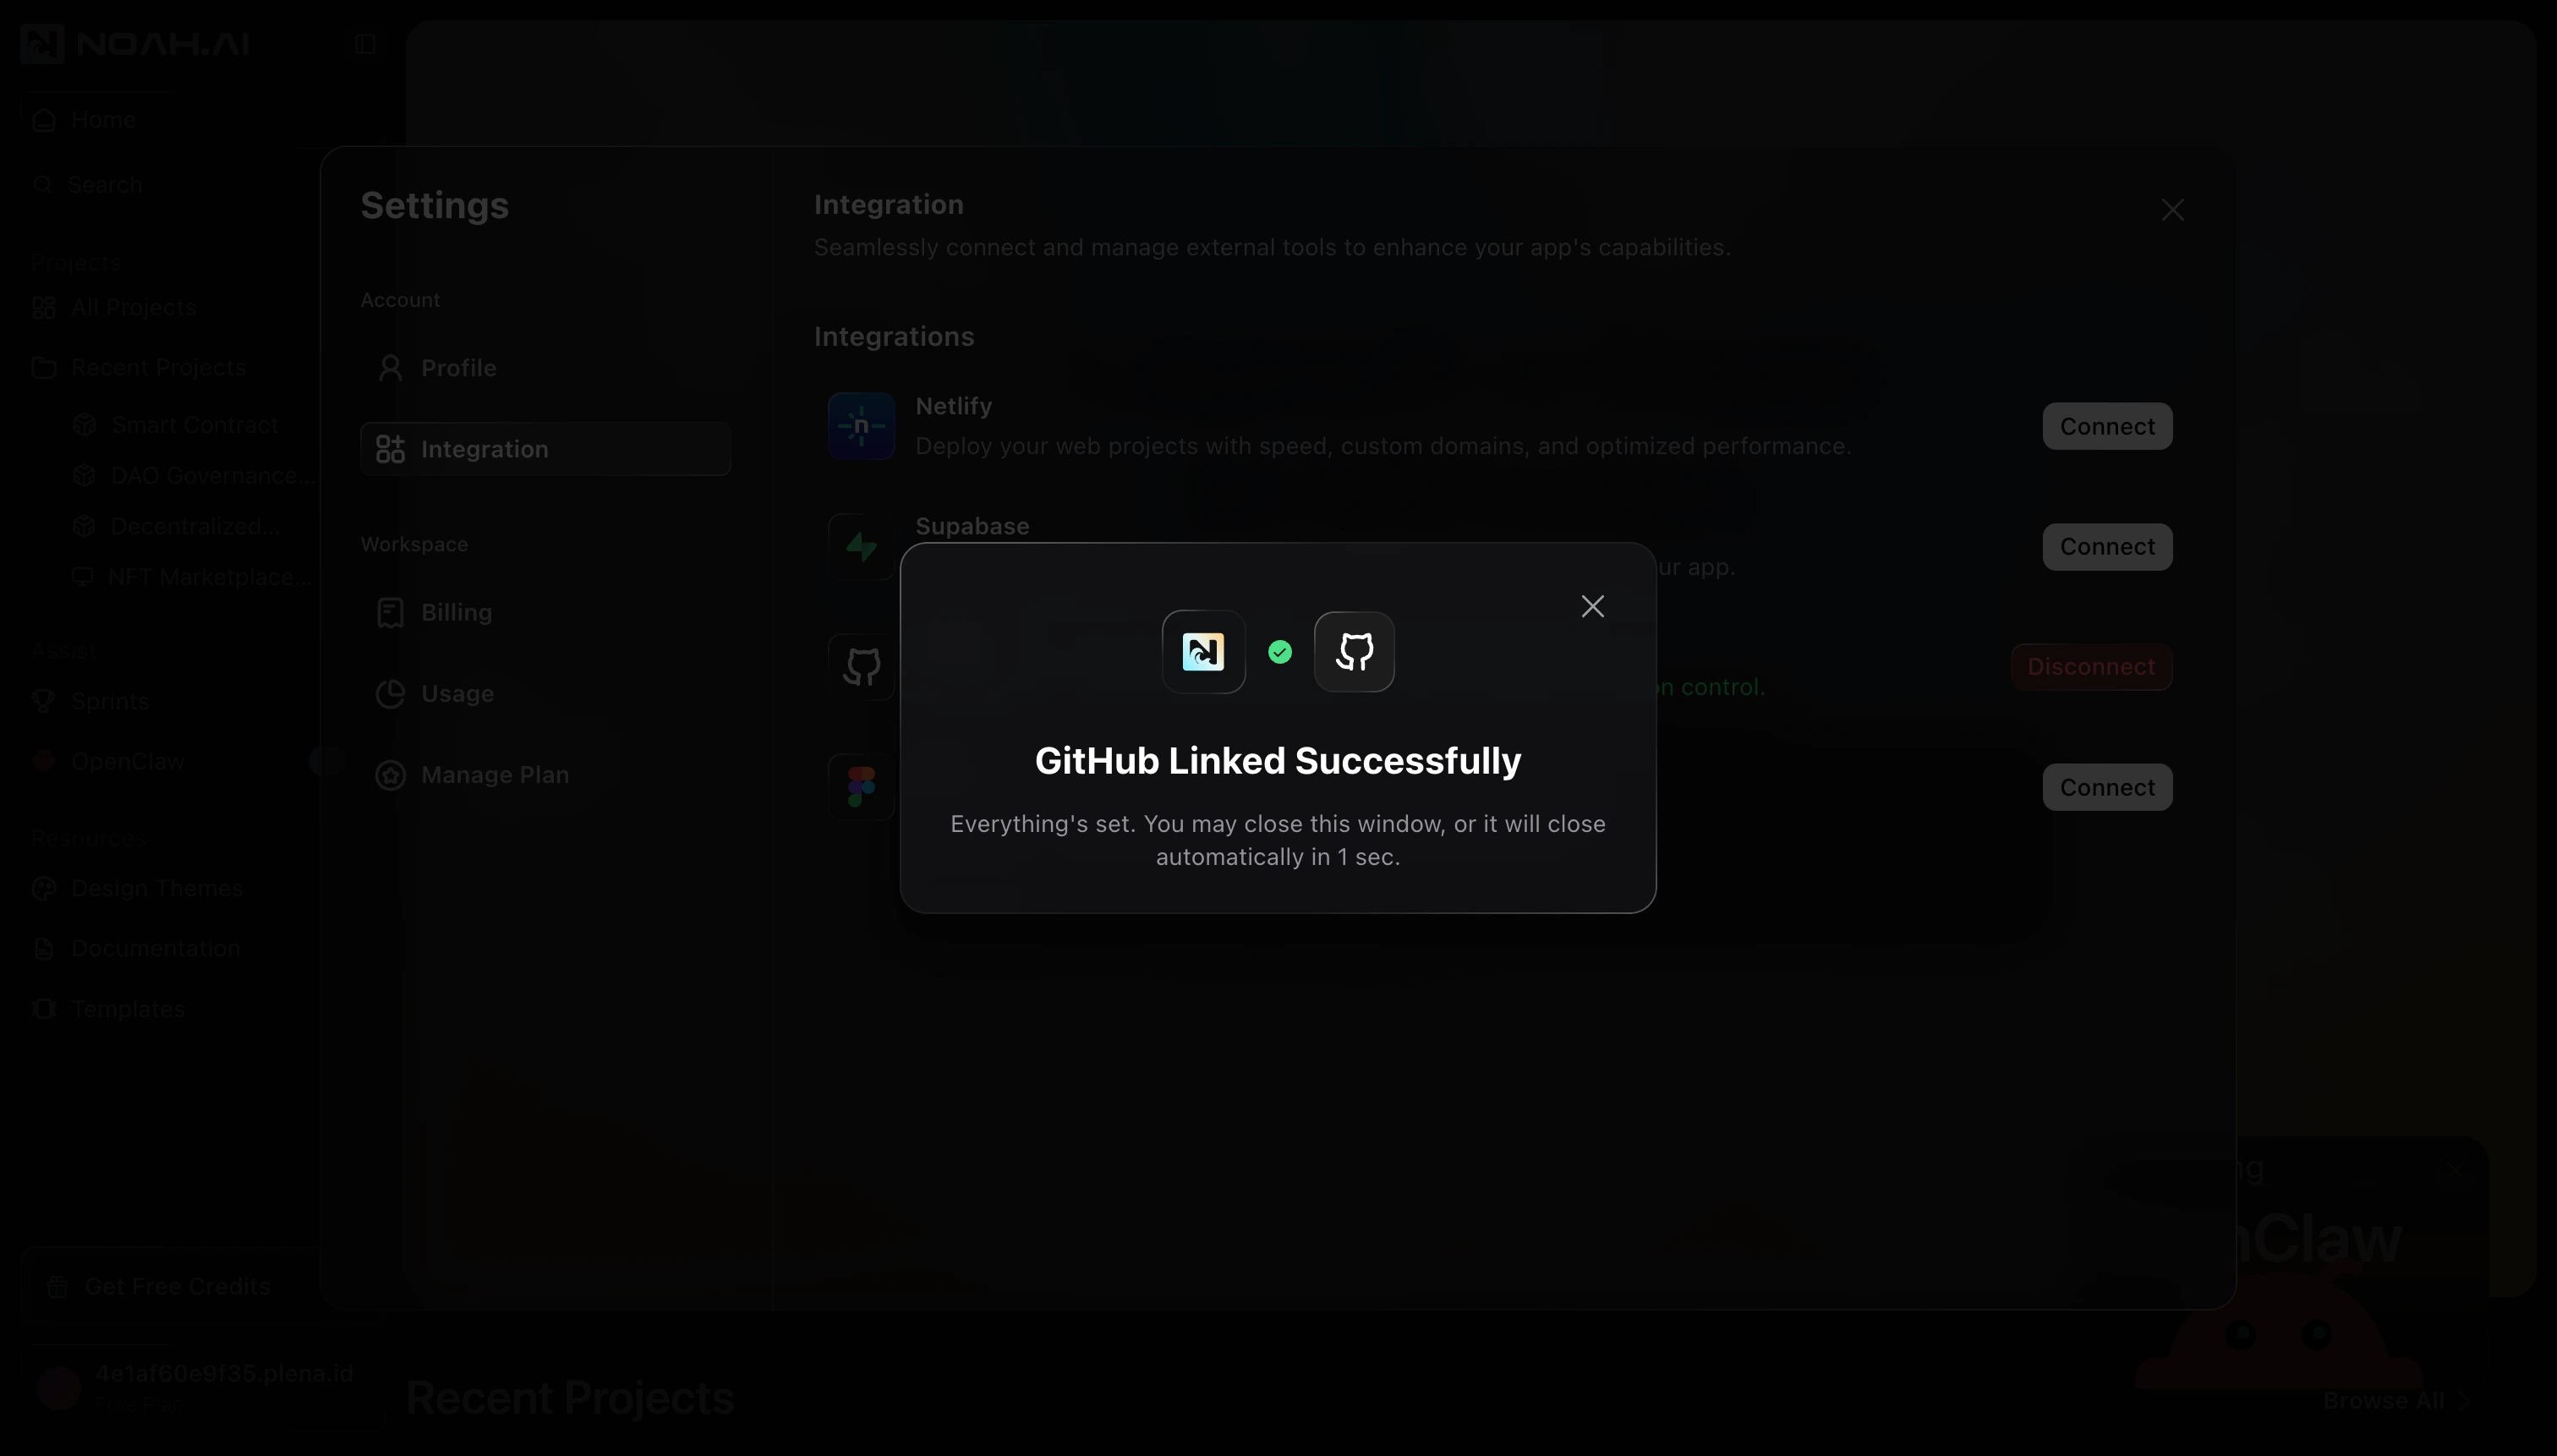
Connect GitHub to Noah
Once you start the flow from either entry point, the connection steps are the same.Open the Connect with GitHub dialog
Noah shows a Connect with GitHub dialog that explains what the integration does. Click Connect to continue.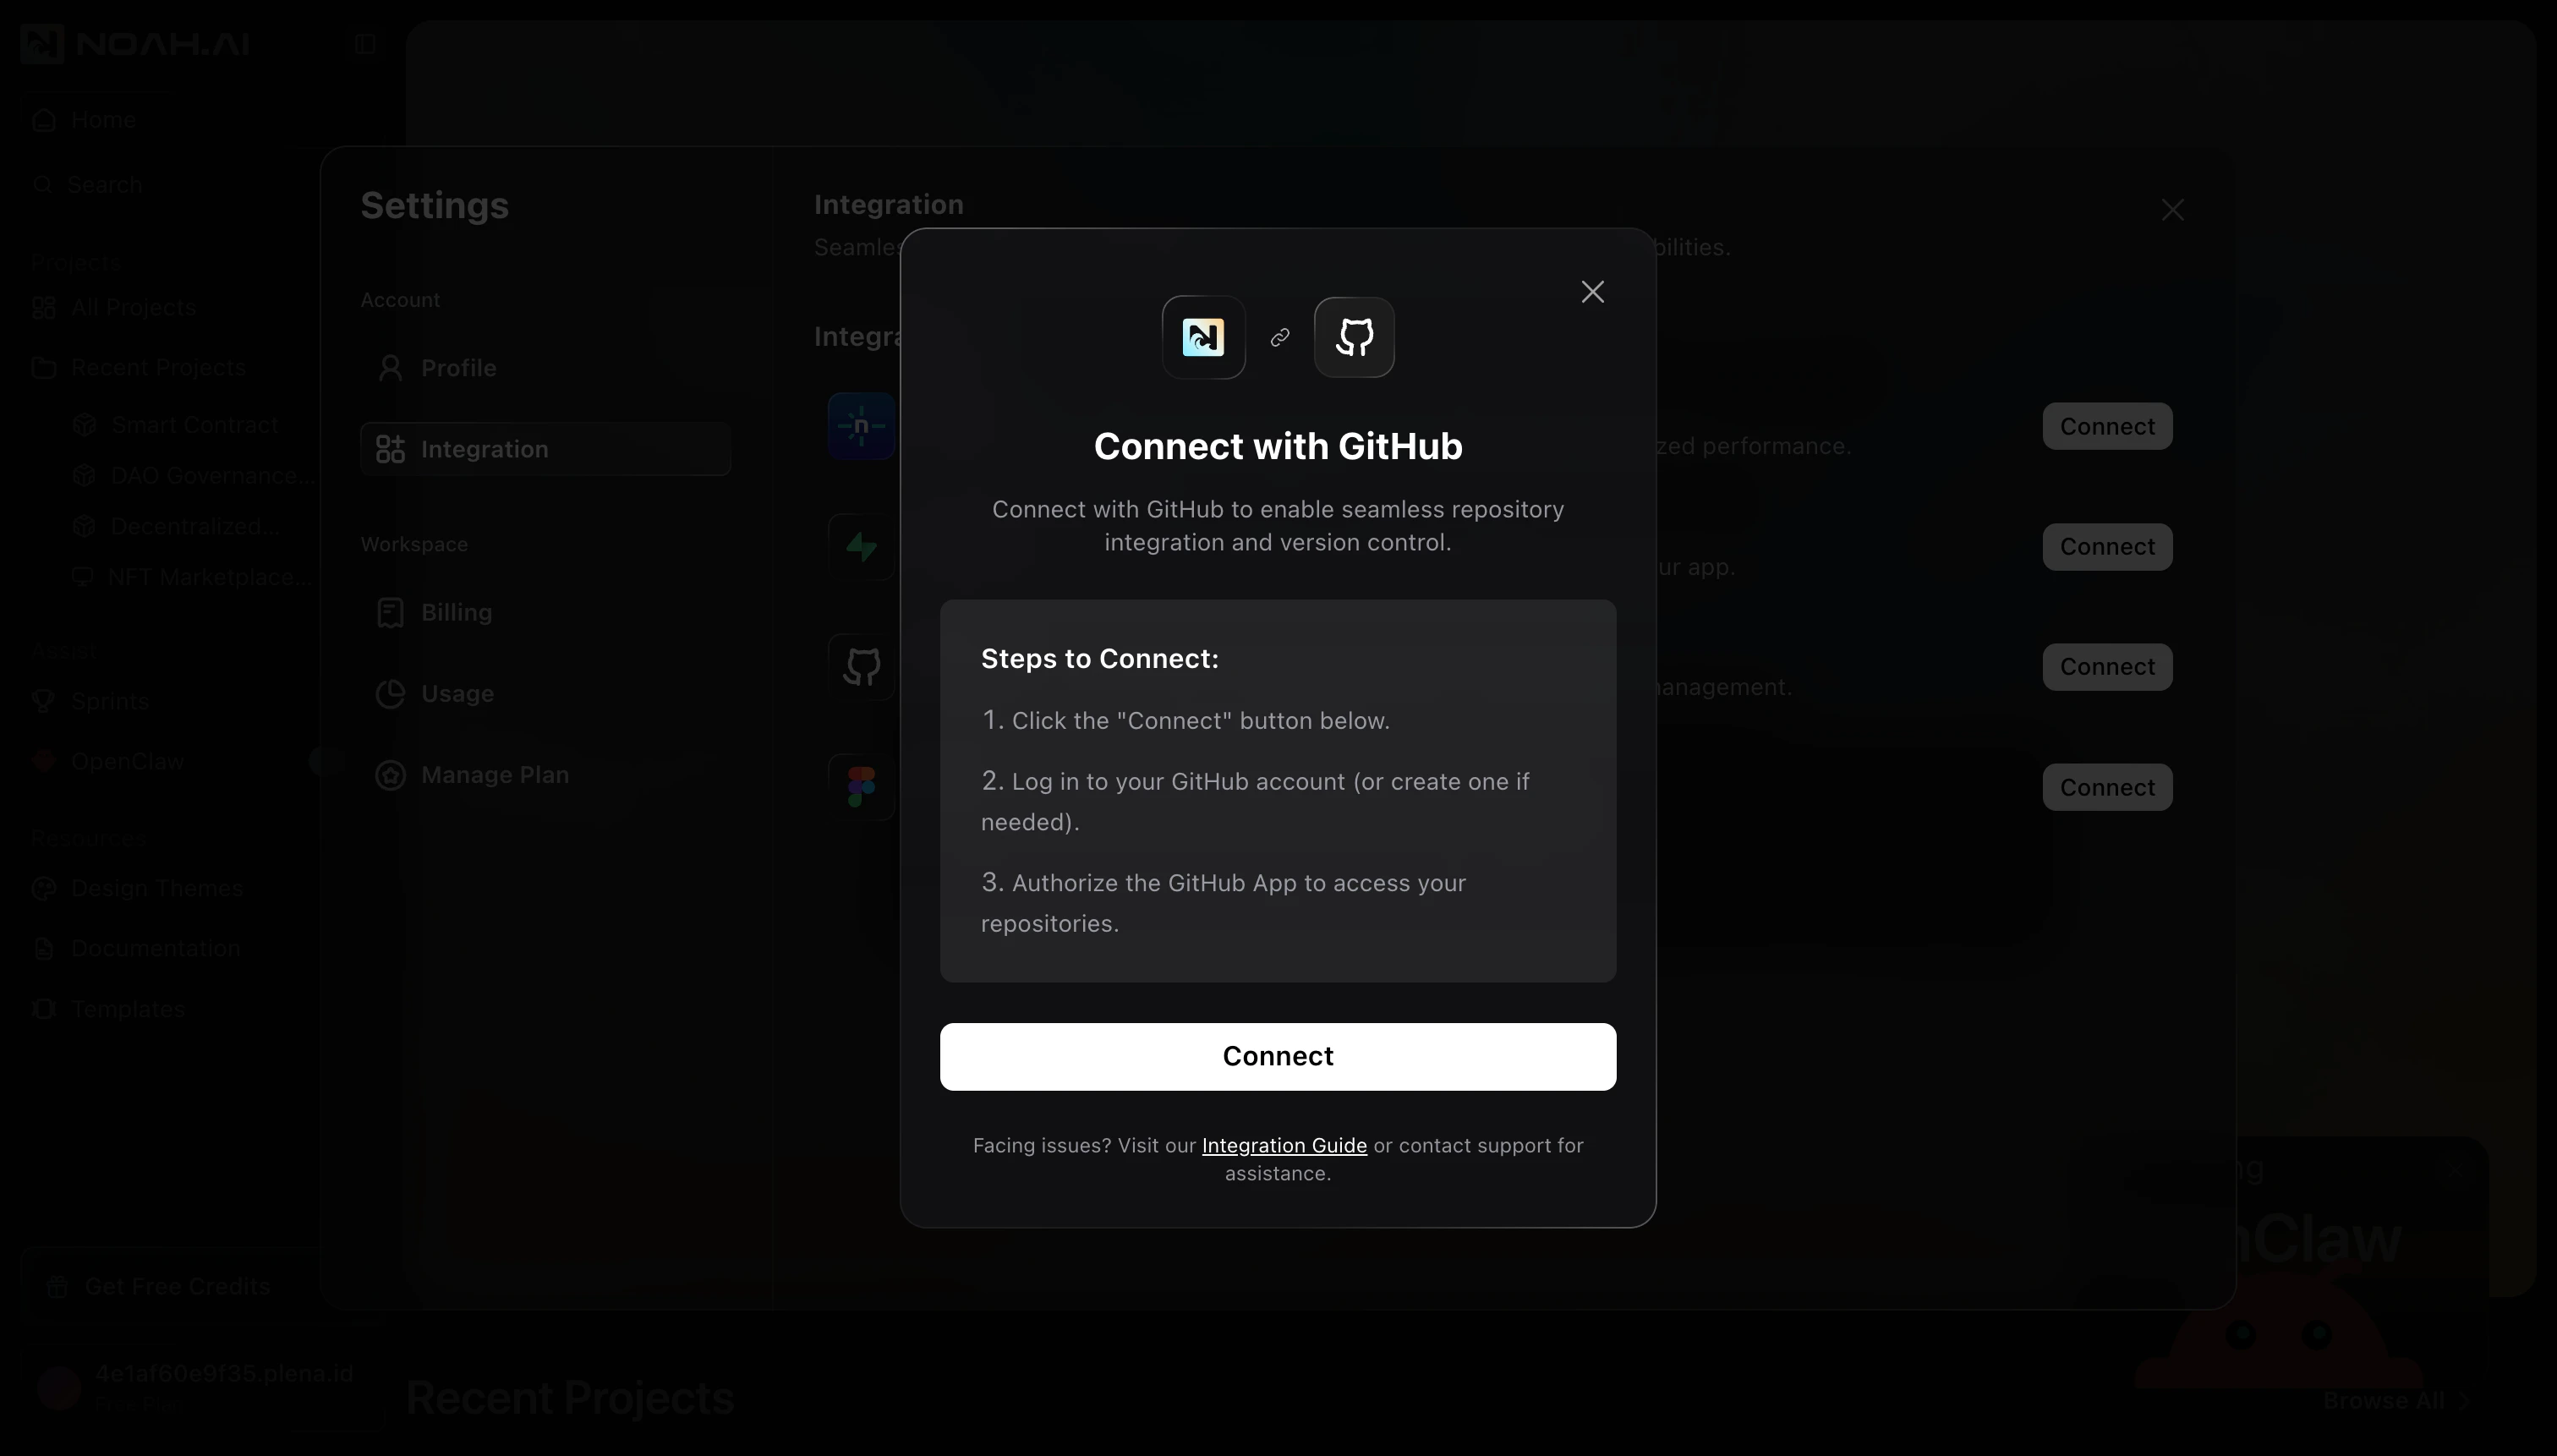
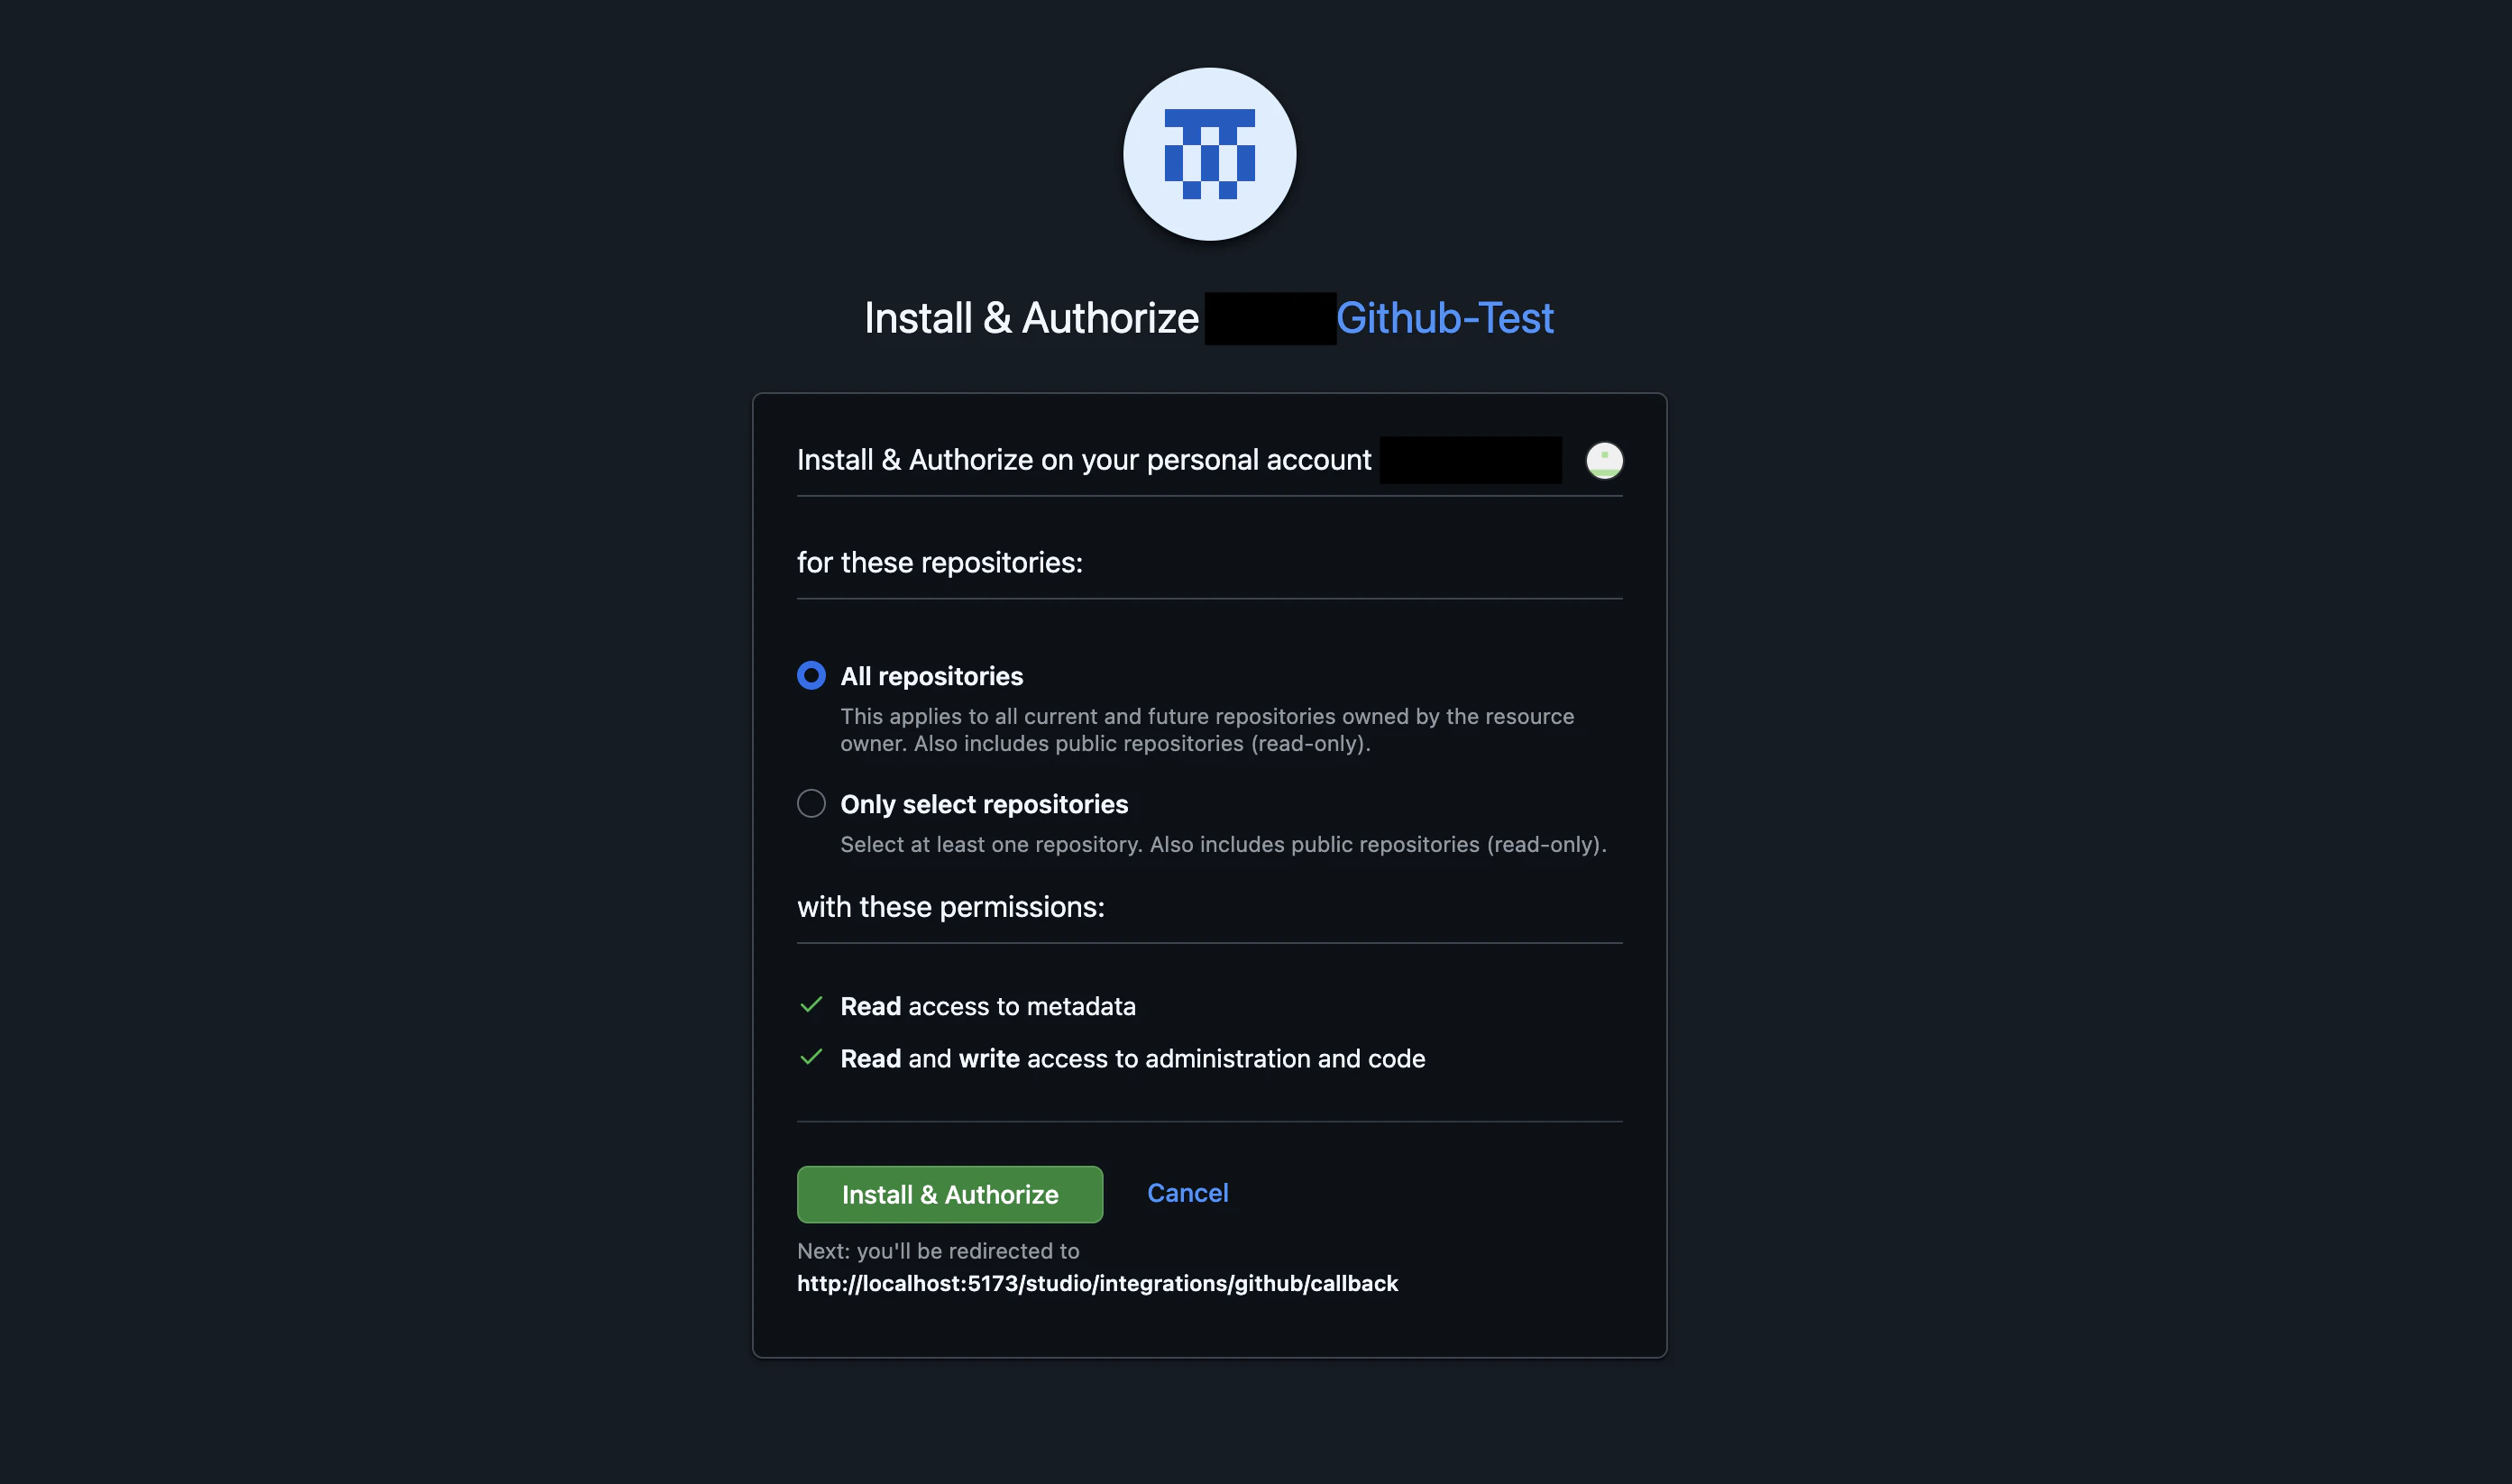
Authorize Noah AI in GitHub
A GitHub Install & Authorize page opens in your browser.
- Choose whether to grant access to All repositories or Only select repositories
- Review the permissions requested for the app
-
Click Install & Authorize to grant access
Create and connect a repository
After GitHub is linked, Noah guides you through creating or confirming the repository and branch it will sync to.Create a repository from Noah
If your project is not yet connected to a repository, Noah shows a Create Repository prompt in the project toolbar.
- Click Create Repository to create a new private repo for this project
-
Noah pushes your current project files to this new repository

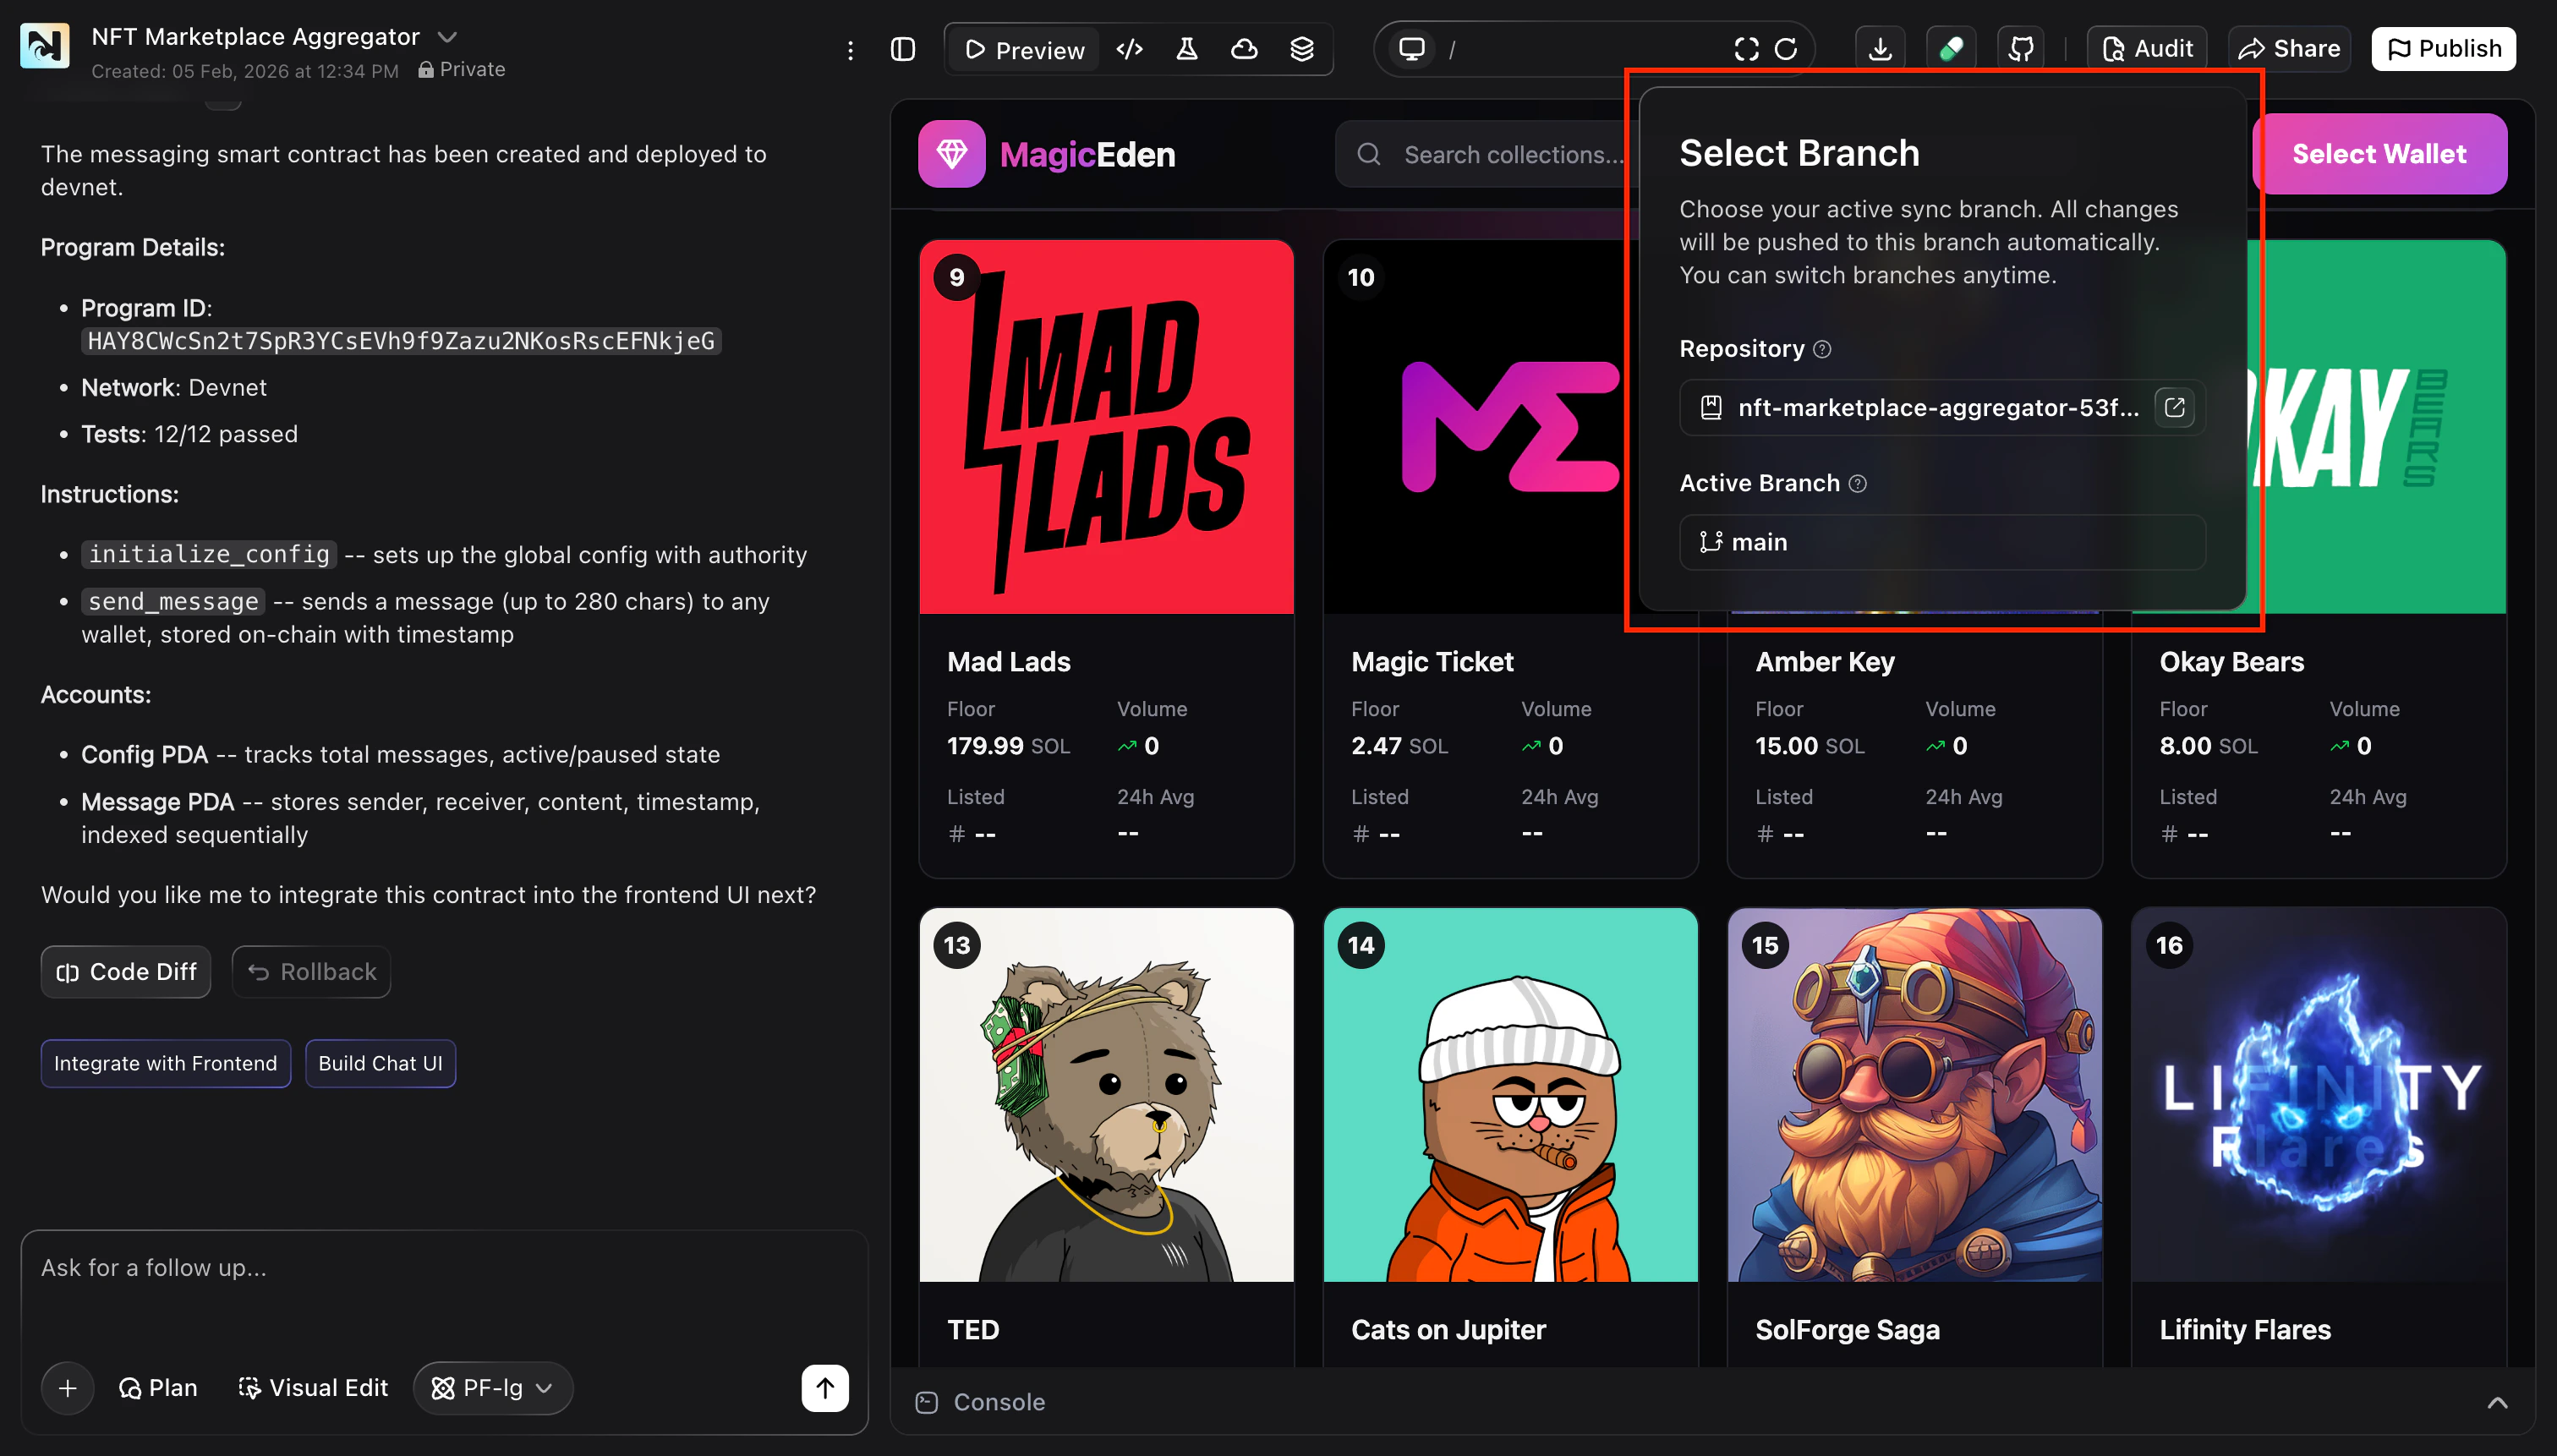
Once a repository and active branch are connected, Noah AI automatically
commits changes to that GitHub branch whenever it updates your project. You
can still use normal Git workflows (branches, pull requests, and reviews) on
top of these commits.
Next steps
- Choose or create a GitHub repository for your project
- Push your existing Noah project code to GitHub
- Use pull requests and code reviews to collaborate with your team
FAQ
What if I clicked Cancel or did not authorize in GitHub?
What if I clicked Cancel or did not authorize in GitHub?
The GitHub authorization window did not open. What should I do?
The GitHub authorization window did not open. What should I do?
Can I disconnect GitHub later?
Can I disconnect GitHub later?
Yes. From Settings → Integration, find GitHub and click Disconnect. This removes Noah’s access but does not delete your existing GitHub repositories.