Before you start
- Create or log into your Noah account: Visit
https://trynoah.aiand sign in. - Use a modern browser: We recommend a Chromium-based browser like Chrome or Brave for the best experience.
- Have a wallet ready (optional): If you plan to deploy on-chain or interact with Solana programs, make sure you have a compatible wallet installed and funded on the right network (for example, Devnet for testing).
Launch your first Noah project
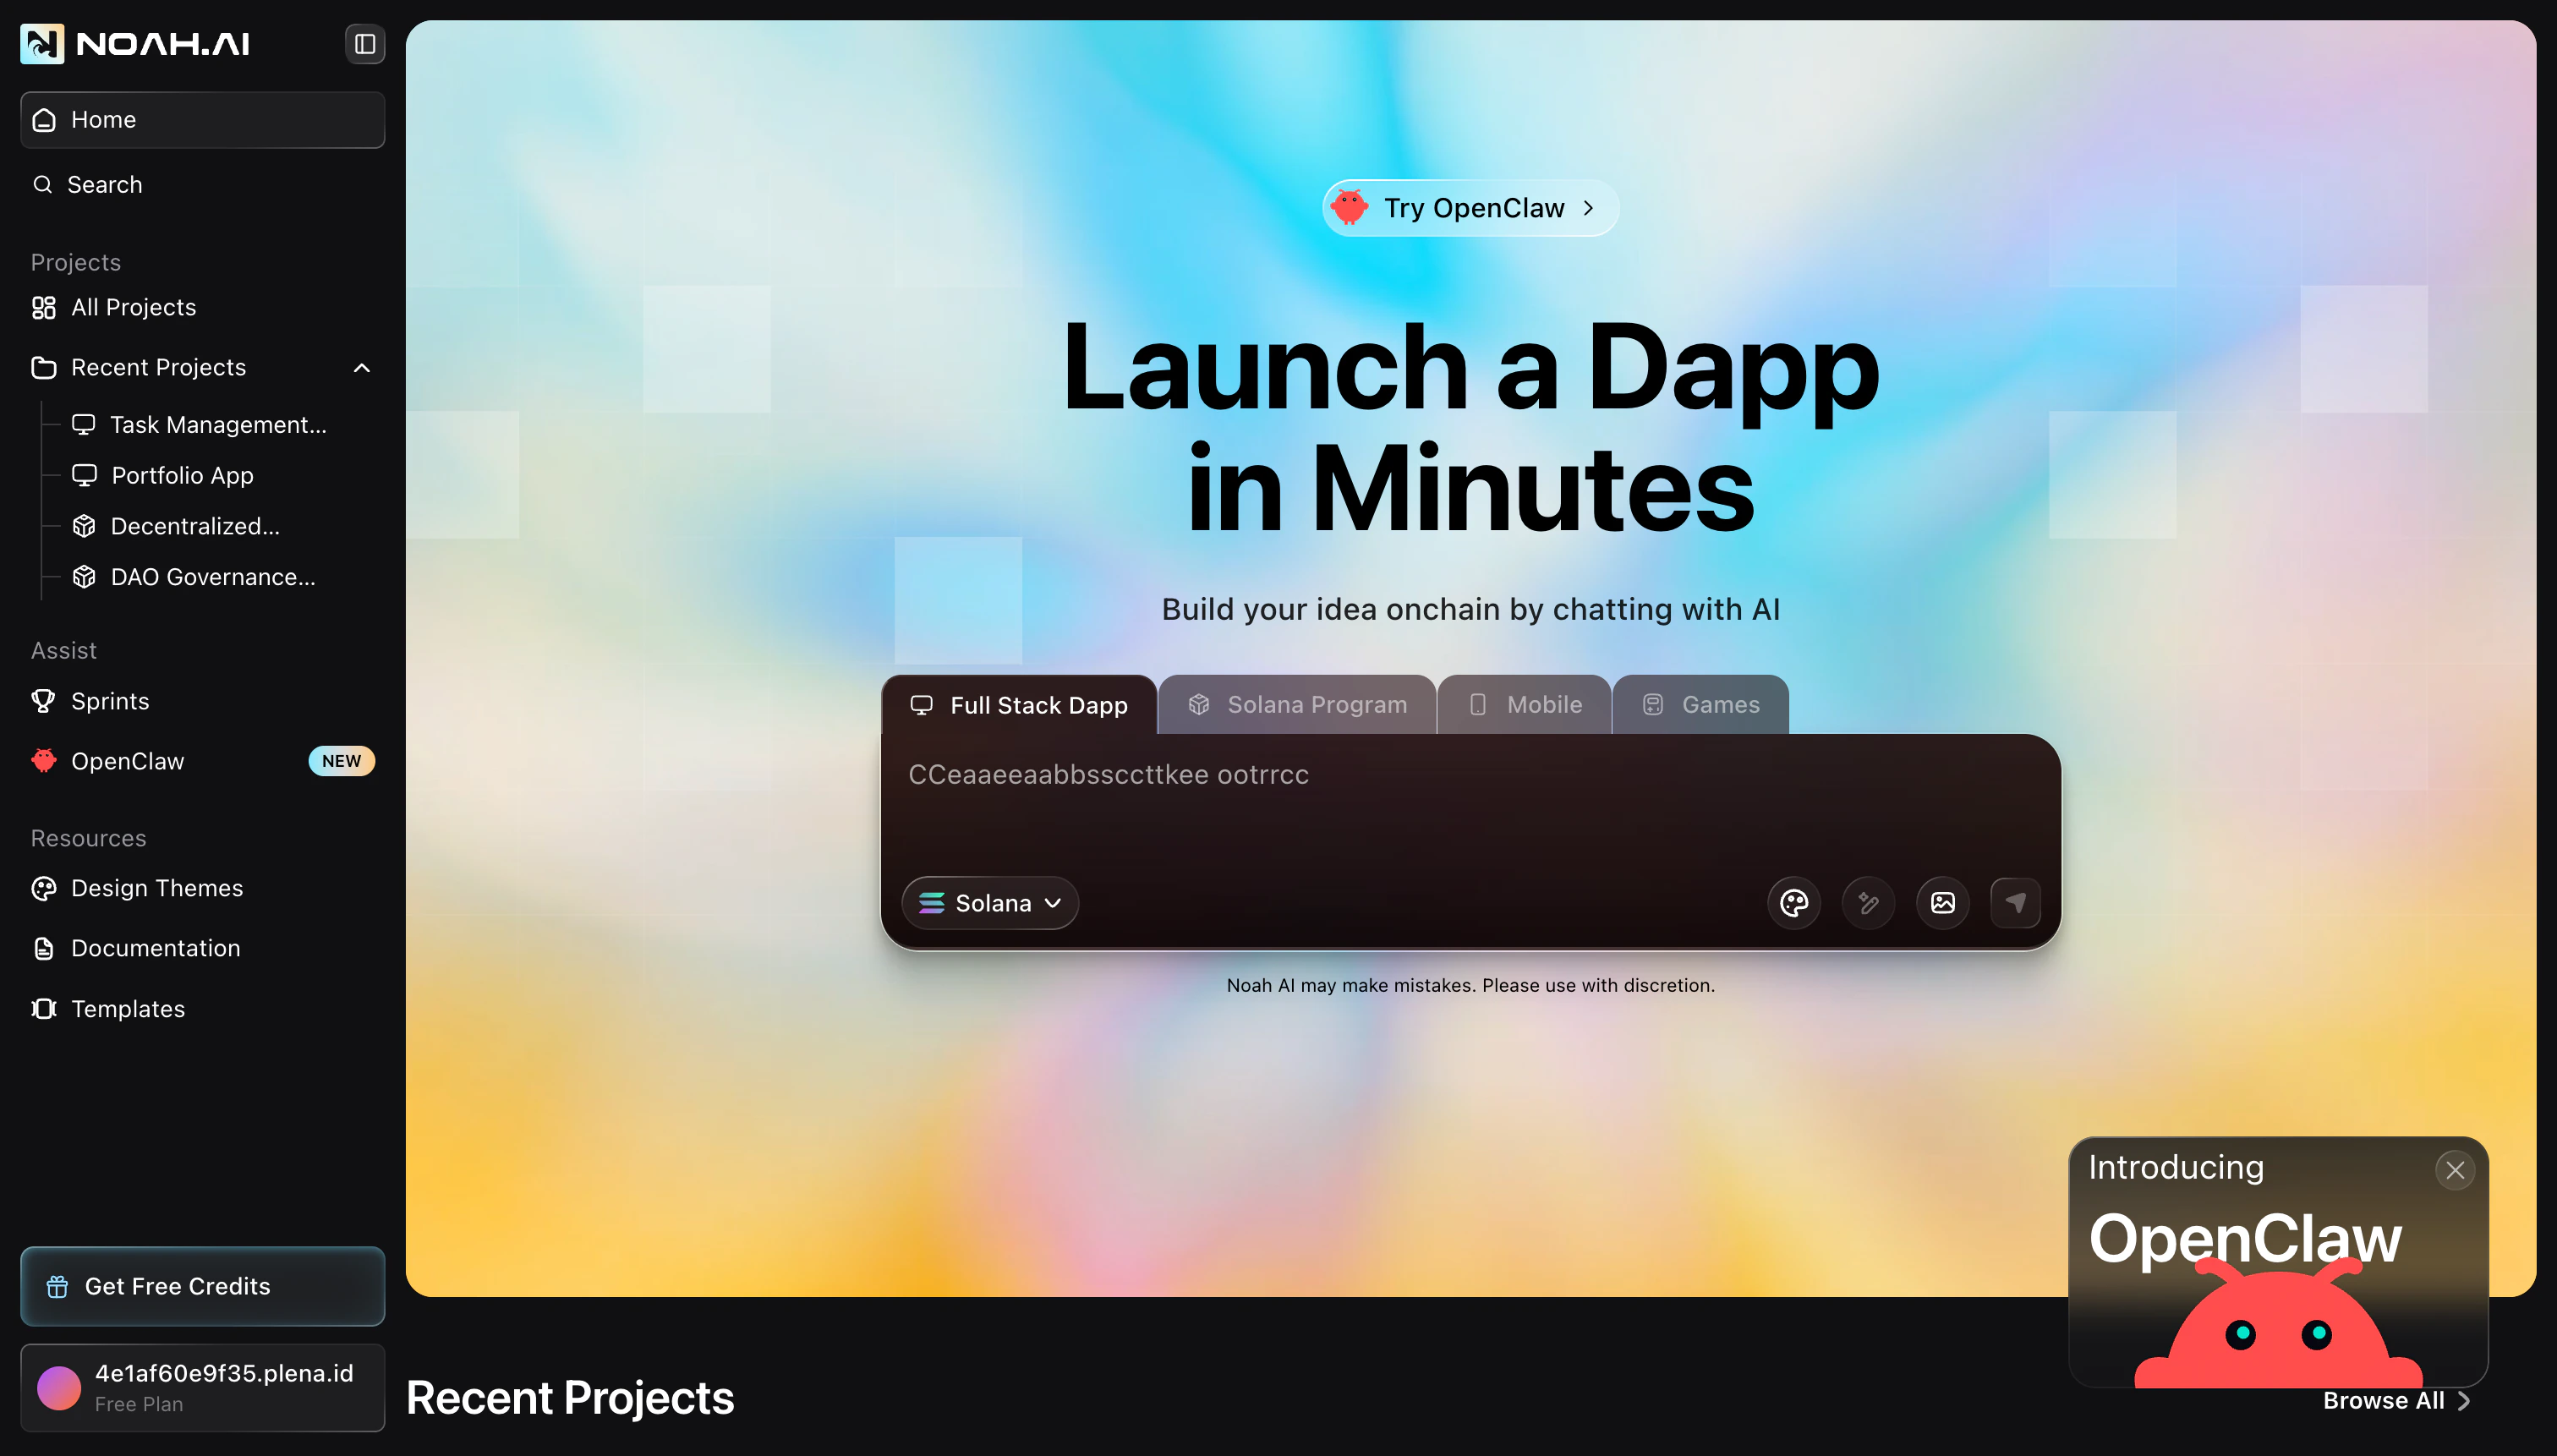
You can build many different experiences with Noah — from token launchpads to NFT marketplaces — but the flow to create them is always similar. Follow these steps to ship your first app.Open Noah and start a new build
Go to
https://trynoah.ai and click the main call-to-action to open the chat workspace. This is where you describe what you want to build and see your app come to life.Describe the dApp you want to build
In the chat box, describe your idea in natural language. Be specific about what the app should do, who it is for, and which chain you want to use (for example, Solana).Example prompt:Noah uses this prompt to generate your web app, backend, and onchain logic where applicable.
Review the generated app
Once Noah finishes generating, use the preview to click through the main
screens. Check that the navigation, forms, and flows match what you had in
mind. If something feels off, just write a follow-up message like “Make the
hero section more compact” or “Add a confirmation step before launching a
token” — Noah will update the app accordingly.
Add or connect on-chain programs (optional)
For onchain functionality, ask Noah to generate and wire up a Solana program or smart contract. Noah will create the program, generate tests, and guide you through deployment to Devnet so you can safely try it out before going to mainnet.You can always refine the onchain logic with additional prompts (for example, adding new launch parameters or changing how fees work).
Test and publish
When you are happy with the experience, run through a final test in the preview: connect your wallet, perform a sample transaction, and confirm that the UI updates as expected.When everything looks good, use the publish controls in Noah to deploy your app and get a live URL you can share with others.
Prompting tips for better results
- Be explicit about user actions: Describe what users should be able to click, fill in, and see on each screen.
- Specify the chain and environment: Mention whether you want to start on Solana Devnet, mainnet, or another supported network.
- Call out key business rules: Include details like fee structure, limits, and access control in your prompt instead of leaving them implied.
- Iterate in small steps: After the first version, ask Noah for focused changes like “add pagination to the dashboard table” or “simplify the launch form”.
What’s next?
Build a dApp from scratch
Follow a step-by-step tutorial to create a Meme Coin Launchpad dApp using Noah.
Explore what you can build
See popular project types and ideas for your next dApp.
Learn the basics of dApps
Get a quick primer on what dApps are and why they matter.